Create a Workspace
A workspace in Bruno is a container that helps you organize multiple collections, API specifications, and environments together. Workspaces allow you to group related projects, making it easier to switch between different teams or projects while keeping your API development workflow organized.
Workspaces are available in Bruno 3.0.0 and higher versions.
Why Use Workspaces?
Workspaces provide several benefits:
- Project Organization - Group related collections together by project, team, or client
- Git Integration - Store workspaces in version-controlled directories for easy collaboration
- Environment Isolation - Each workspace can have its own global environments
- Quick Switching - Easily switch between different projects without losing context
- Pin Favorites - Pin frequently used workspaces for quick access
Types of Workspaces
Bruno supports two types of workspaces:
Default Workspace
The Default Workspace is automatically created when you first launch Bruno. It is stored in Bruno’s application data folder and serves as your starting point. This workspace cannot be closed or deleted.
Custom Workspaces
Custom workspaces are stored in a location of your choice on your filesystem. This makes them ideal for:
- Syncing with version control systems like Git
- Sharing with team members
- Organizing collections by project or team
Workspace Structure
When you create a workspace, Bruno creates the following structure on your filesystem:
my-workspace/
├── workspace.yml        # Workspace configuration file
├── collections/         # Directory for collections
└── environments/        # Directory for global environments
The workspace.yml file contains the workspace configuration, including:
- Workspace name
- List of collections in the workspace
- API specifications
- Active environment settings
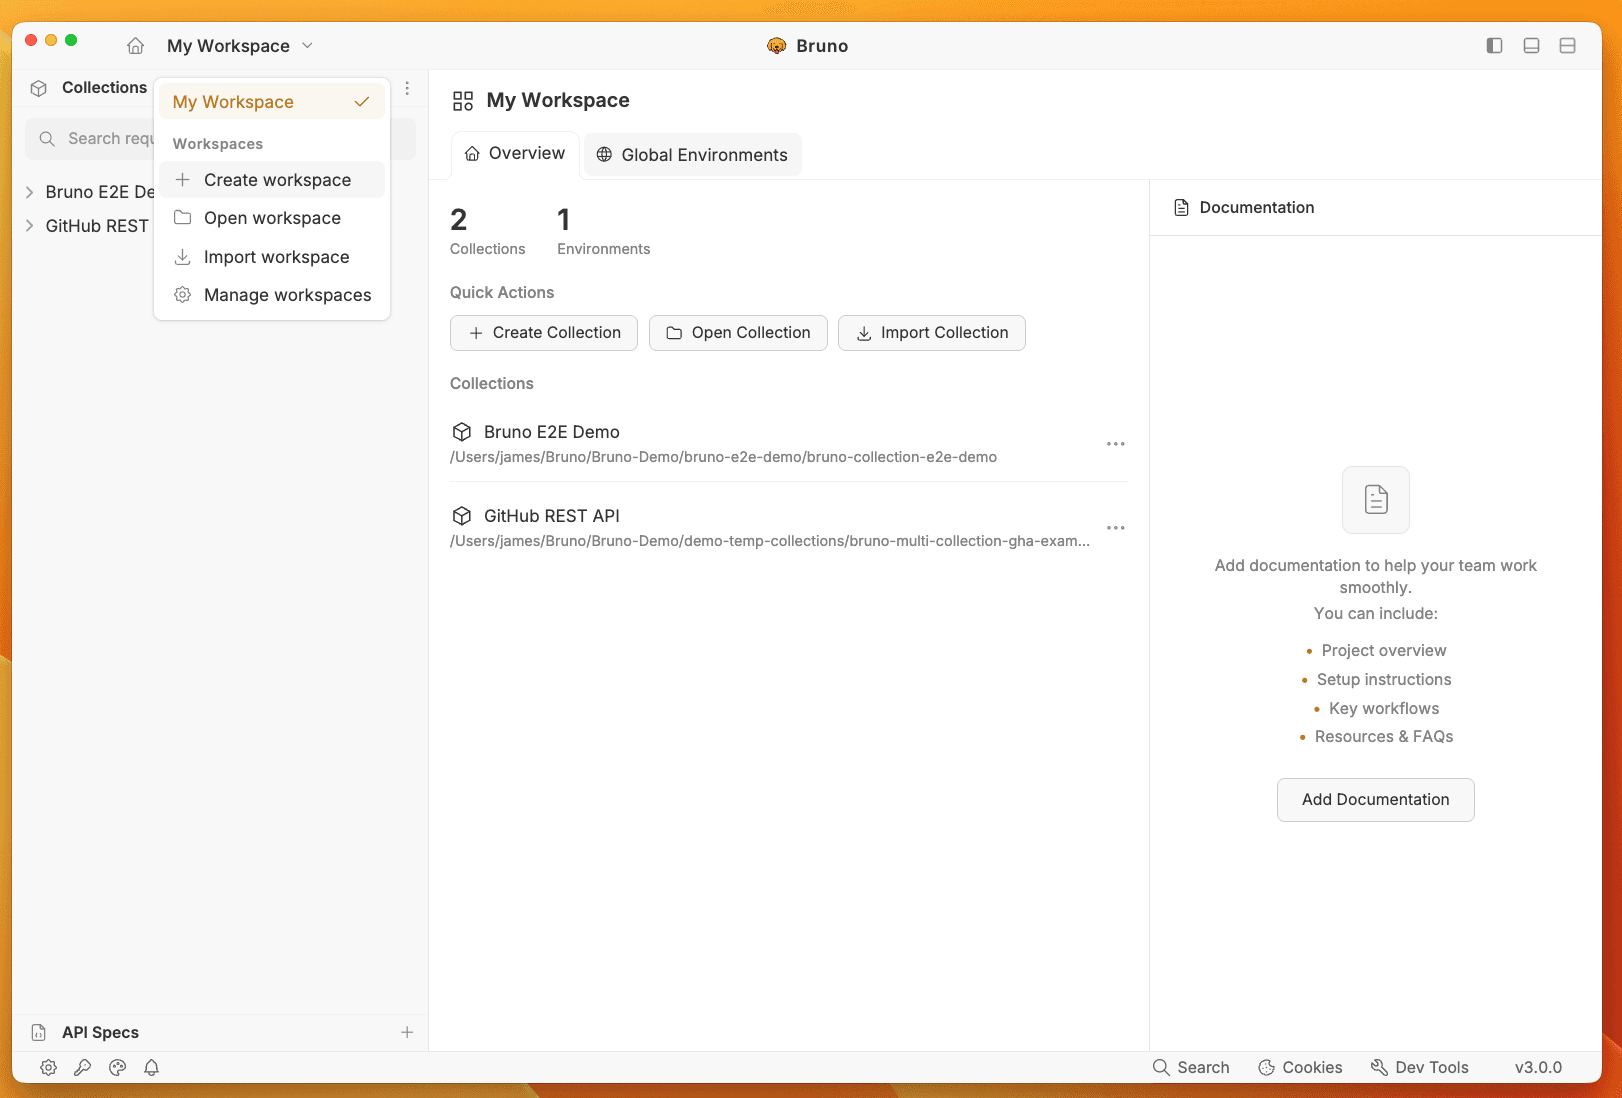
How to Create a Workspace
- Open Bruno and click on the workspace dropdown in the top-left corner
- Select Create workspace from the menu
- Enter a name for your workspace (1-255 characters)
- Click Browse to choose a location on your filesystem
- Click Create Workspace
Bruno will create the workspace folder structure and automatically switch to the new workspace.
Workspace names must be unique. You cannot create a workspace with the same name as an existing workspace.
Managing Workspaces
Switching Between Workspaces
- Click on the workspace dropdown in the top-left corner
- Click on any workspace name to switch to it
The active workspace is indicated with a checkmark.
Pinning Workspaces
You can pin frequently used workspaces for quick access:
- Hover over a workspace in the dropdown menu
- Click the pin icon to pin or unpin the workspace
Pinned workspaces appear at the top of the workspace list.
Managing Workspaces
To access workspace management options:
- Click on the workspace dropdown in the top-left corner
- Select Manage workspaces from the menu
From the Manage Workspace screen, you can:
- Open - Switch to a different workspace
- Show in folder - Open the workspace location in your file explorer
- Rename - Change the workspace name (available from the workspace home screen)
- Close - Remove the workspace from Bruno (files remain on disk)
Renaming a Workspace
- Open the workspace you want to rename
- Click on the workspace home icon (or navigate to the workspace overview)
- Click the menu icon (three dots) next to the workspace name
- Select Rename and enter the new name
Opening Workspaces
Bruno’s Free and Open Source versions support having two (2) Workspaces open at a time. If you’d like to have additional Workspaces open, consider upgrading to one of our paid plans .
If you have an existing workspace folder that you’ve either created or copied to your system (for example, cloned from a Git repository or received from a colleague in a .zip):
- Click on the workspace dropdown in the top-left corner
- Select Open workspace from the menu
- Navigate to and select the workspace folder containing
workspace.yml - Click Open
Bruno will validate the workspace configuration and open it.
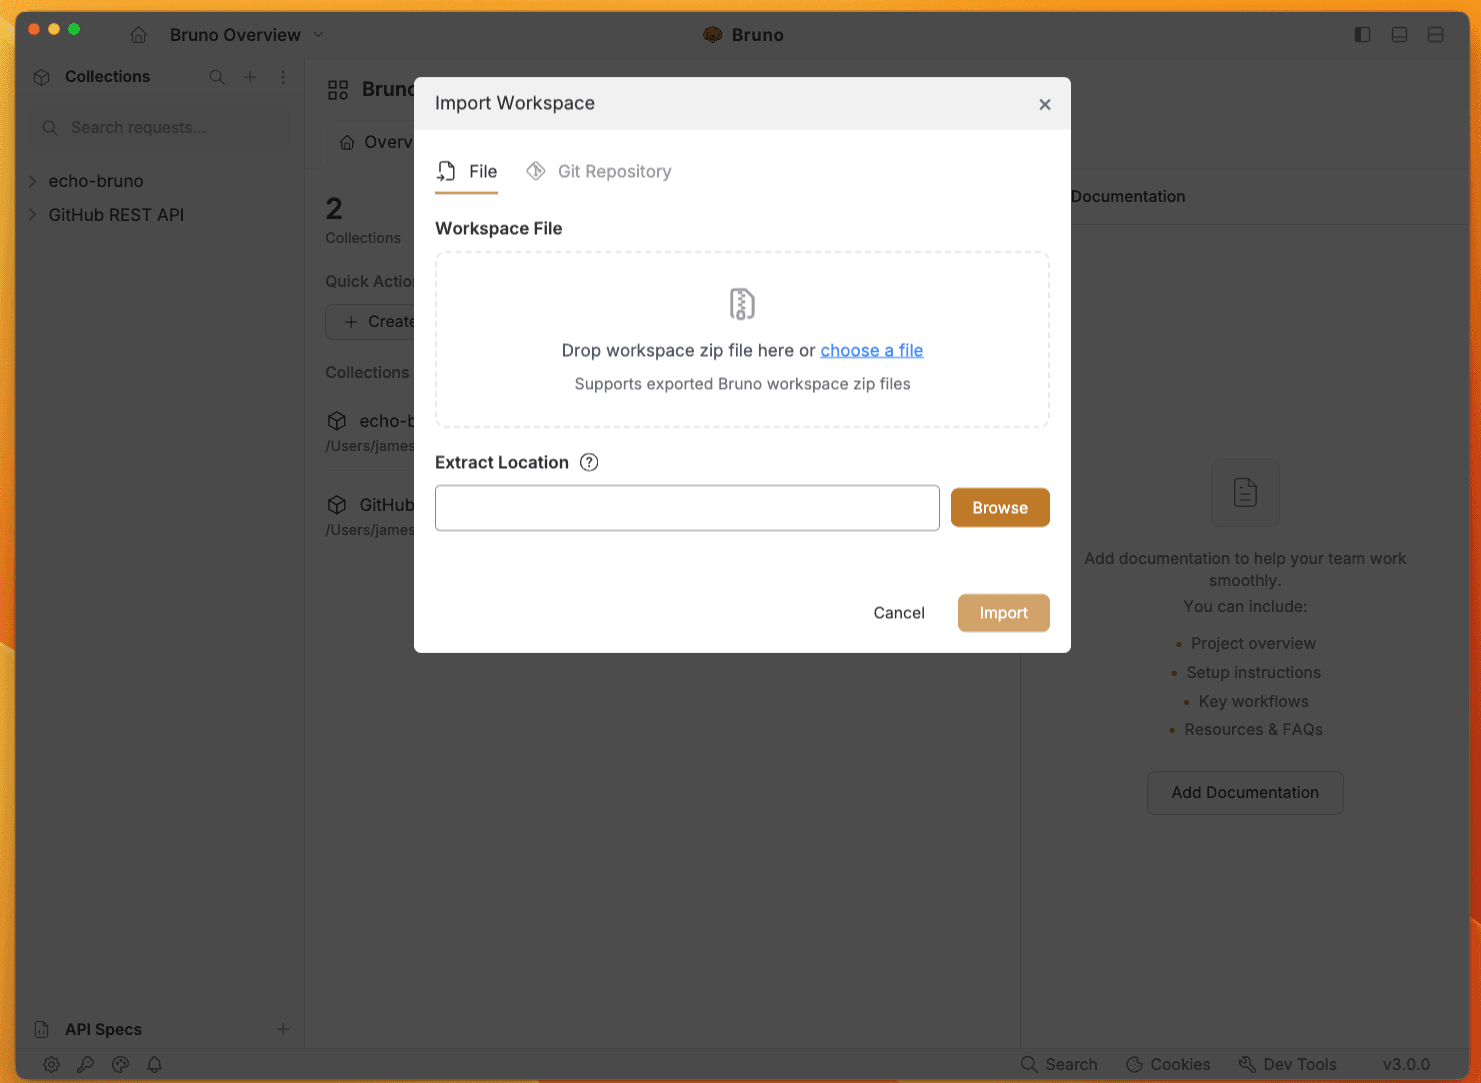
Importing a Workspace
Workspaces can be imported from zip files or from git repositories.
To import a workspace:
- Click on the workspace dropdown in the top-left corner
- Select Import workspace from the menu
- Follow the import wizard to complete the process from a
FileorGit Repository
Closing a Workspace
To close a workspace (remove it from Bruno without deleting files):
- Open the workspace you want to close
- Navigate to the workspace overview
- Click the menu icon and select Close
Closing a workspace only removes it from Bruno’s workspace list. The files remain on your filesystem and can be re-opened at any time.
Next Steps
Once you’ve created a workspace, you can create a collection inside it to start organizing your API requests.