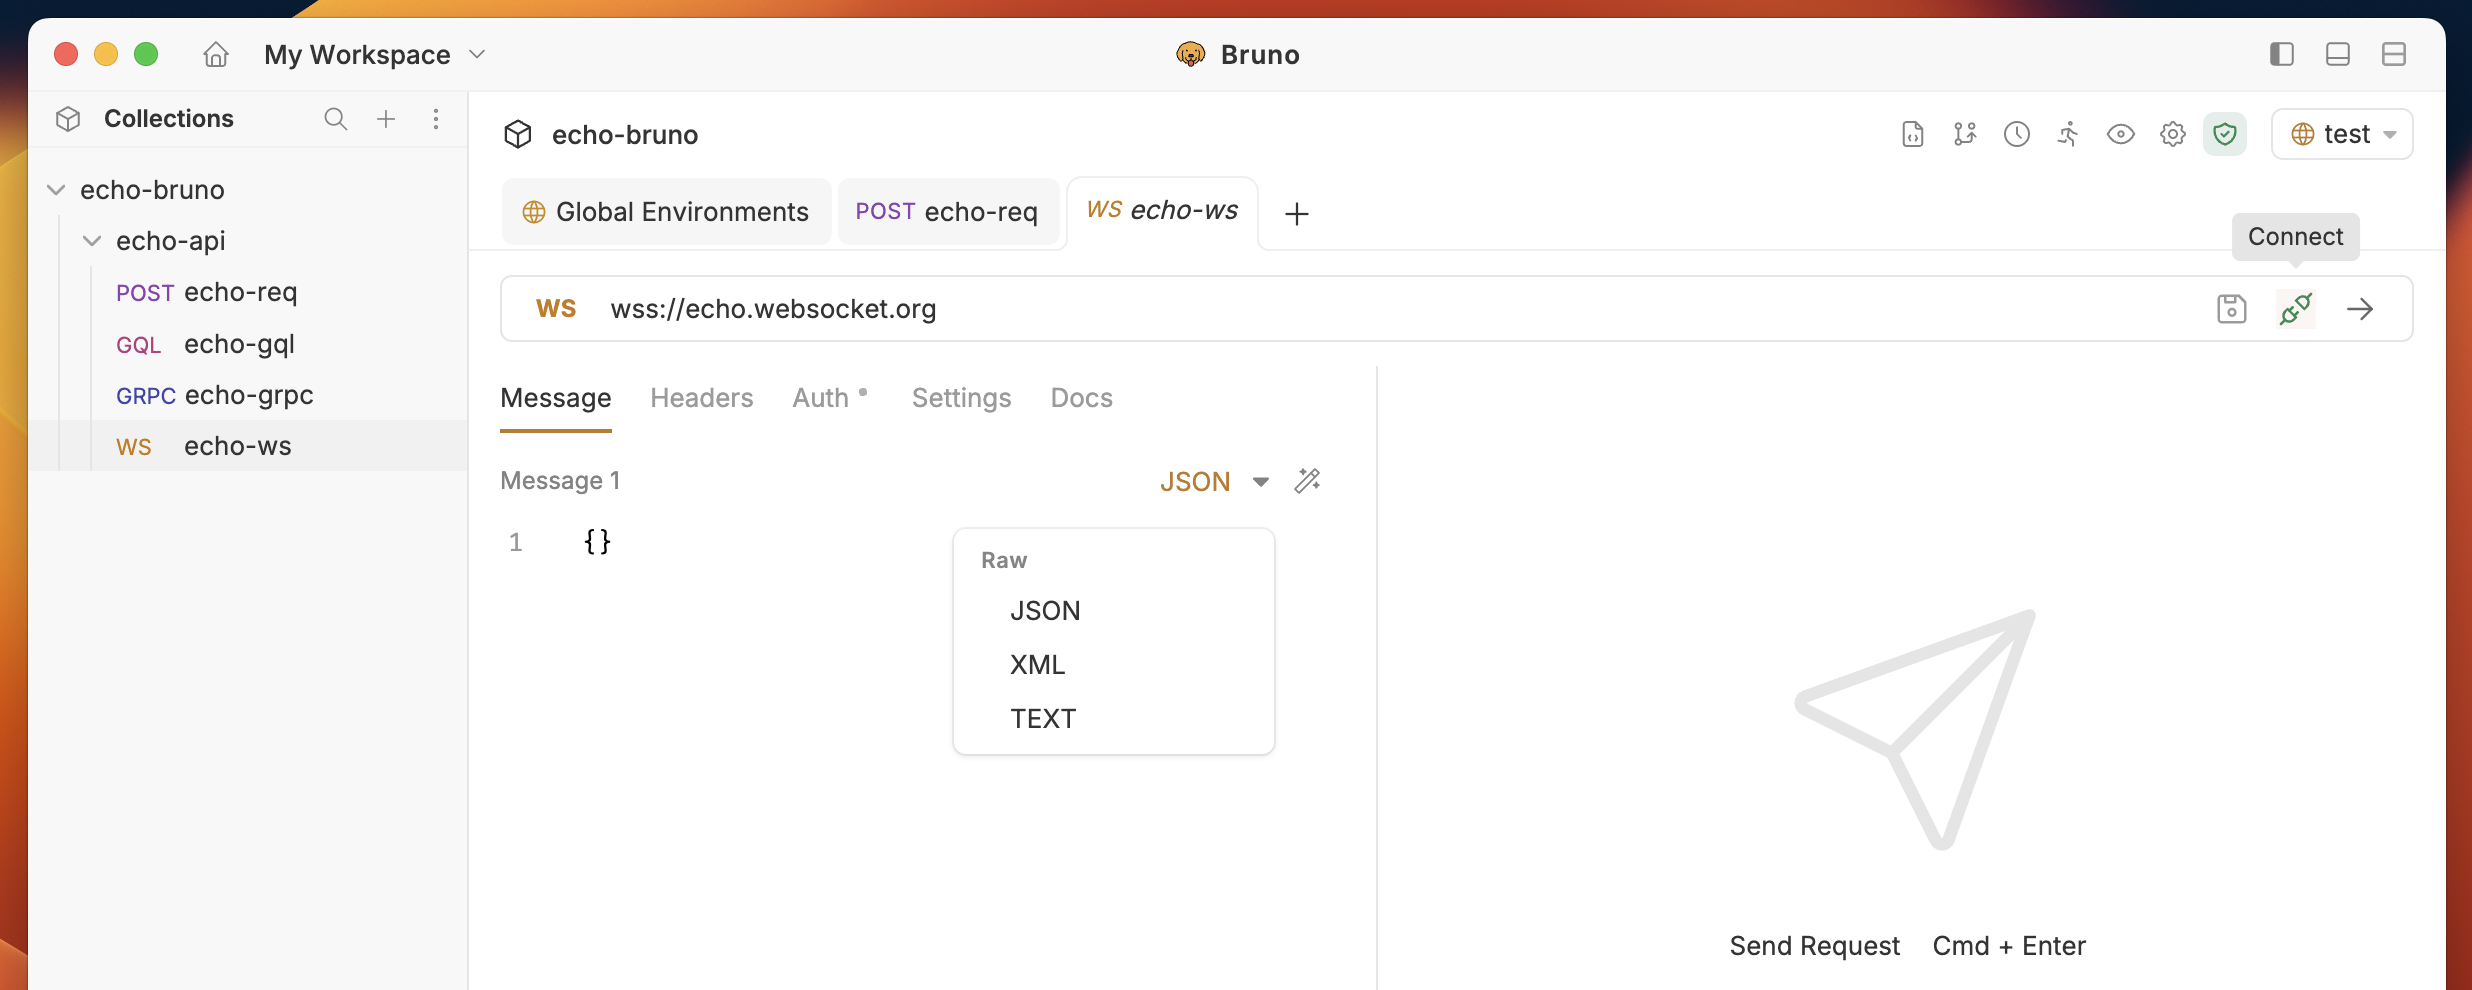
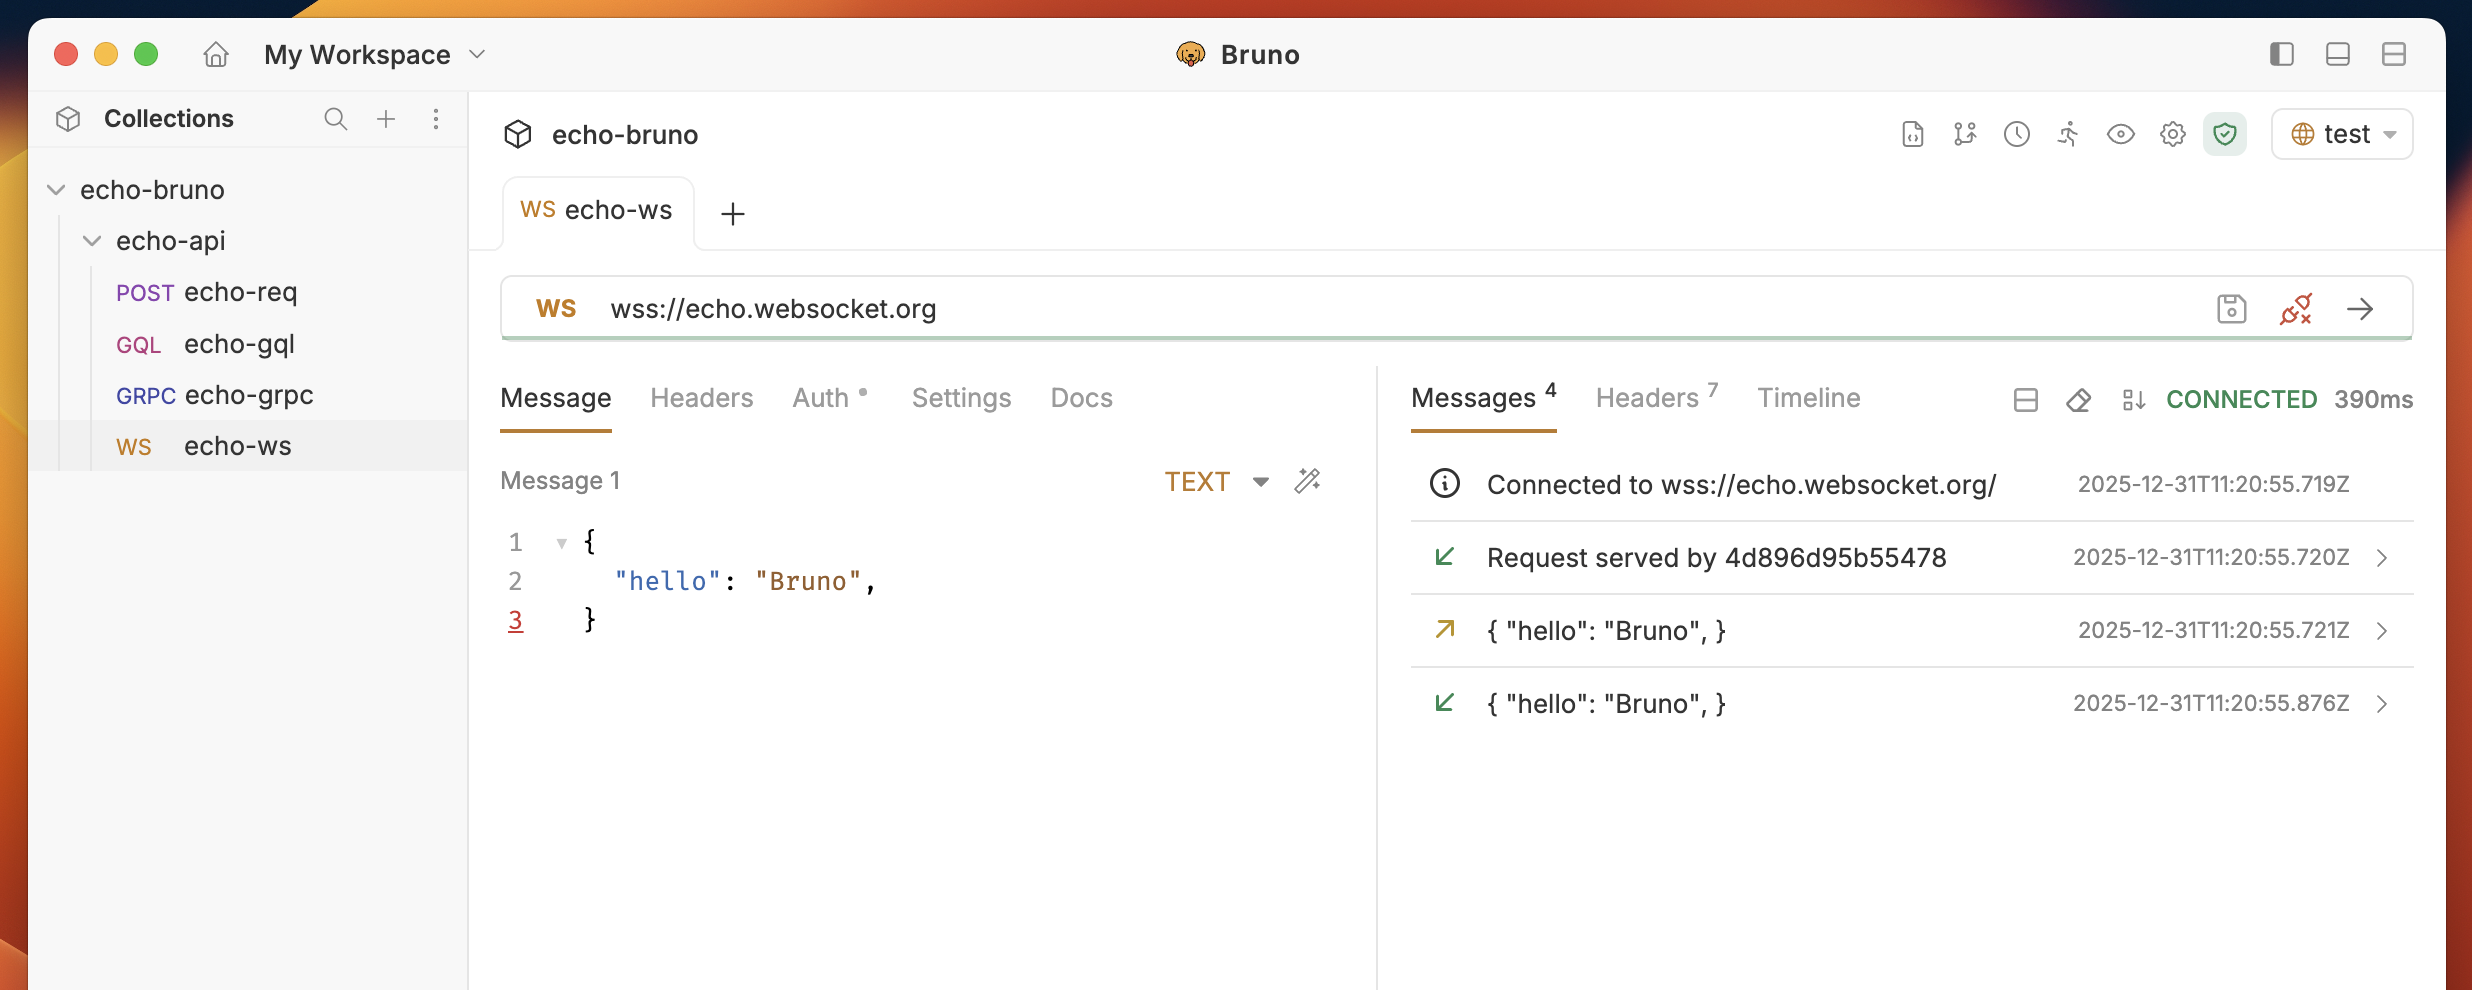
The WebSocket request interface consists of several key components: WebSocket Interface

Request Interface

Connection Status

  • Disconnected: Initial state, ready to connect
  • Connecting: Establishing connection to server
  • Connected: Successfully connected and ready to send messages
  • Disconnected: Connection lost or manually closed

Message Composition

  • Message Type: Choose between Text, JSON, XML — set per message
  • Message Editor: Compose your message with syntax highlighting
  • Send Button: Send that individual message to the active connection
  • Add Message: Add additional messages to the same request
  • Rename: Double-click a message label to rename it
  • Delete: Remove a message individually (at least one message must remain)

Message History

  • Sent Messages: All messages you’ve sent (marked with →)
  • Received Messages: All messages received from server (marked with ←)
  • Timestamps: When each message was sent/received
  • Message Sorting: Toggle between newest/oldest first

Connection Management

Establishing Connection

  1. Click the “Connect” button to establish the WebSocket connection
  2. Monitor connection status in the status indicator
  3. View connection logs for detailed connection information

Multiple Messages

Multiple message support is available from v4.0.0 and higher.
Bruno lets you compose and save multiple messages inside a single WebSocket request. This is useful for testing sequences, simulating different payload shapes, or keeping a library of reusable messages alongside one connection. Working with multiple messages
  1. Click Add Message to add a new message slot. Each message has its own format selector (Text, JSON, XML) and editor.
Add Message
  1. Click the Send button on a specific message to send only that message to the active connection.
Send Message
  1. Double-click a message label to rename it.
Rename Message
  1. To remove a message, click the delete icon. The last remaining message cannot be deleted.
Delete Message Variable interpolation works per message, so {{token}} and other variables are resolved individually when each message is sent.

Sending Messages

  1. Compose your message in the message editor
  2. Select message type (Text, JSON, XML)
  3. Click Send button on the message you want to transmit
  4. View sent message in the message history
Send WebSocket Request

Receiving Messages

  1. Monitor the message history for incoming messages
  2. View message details including timestamp and content
  3. Use test scripts to validate received messages

Closing Connection

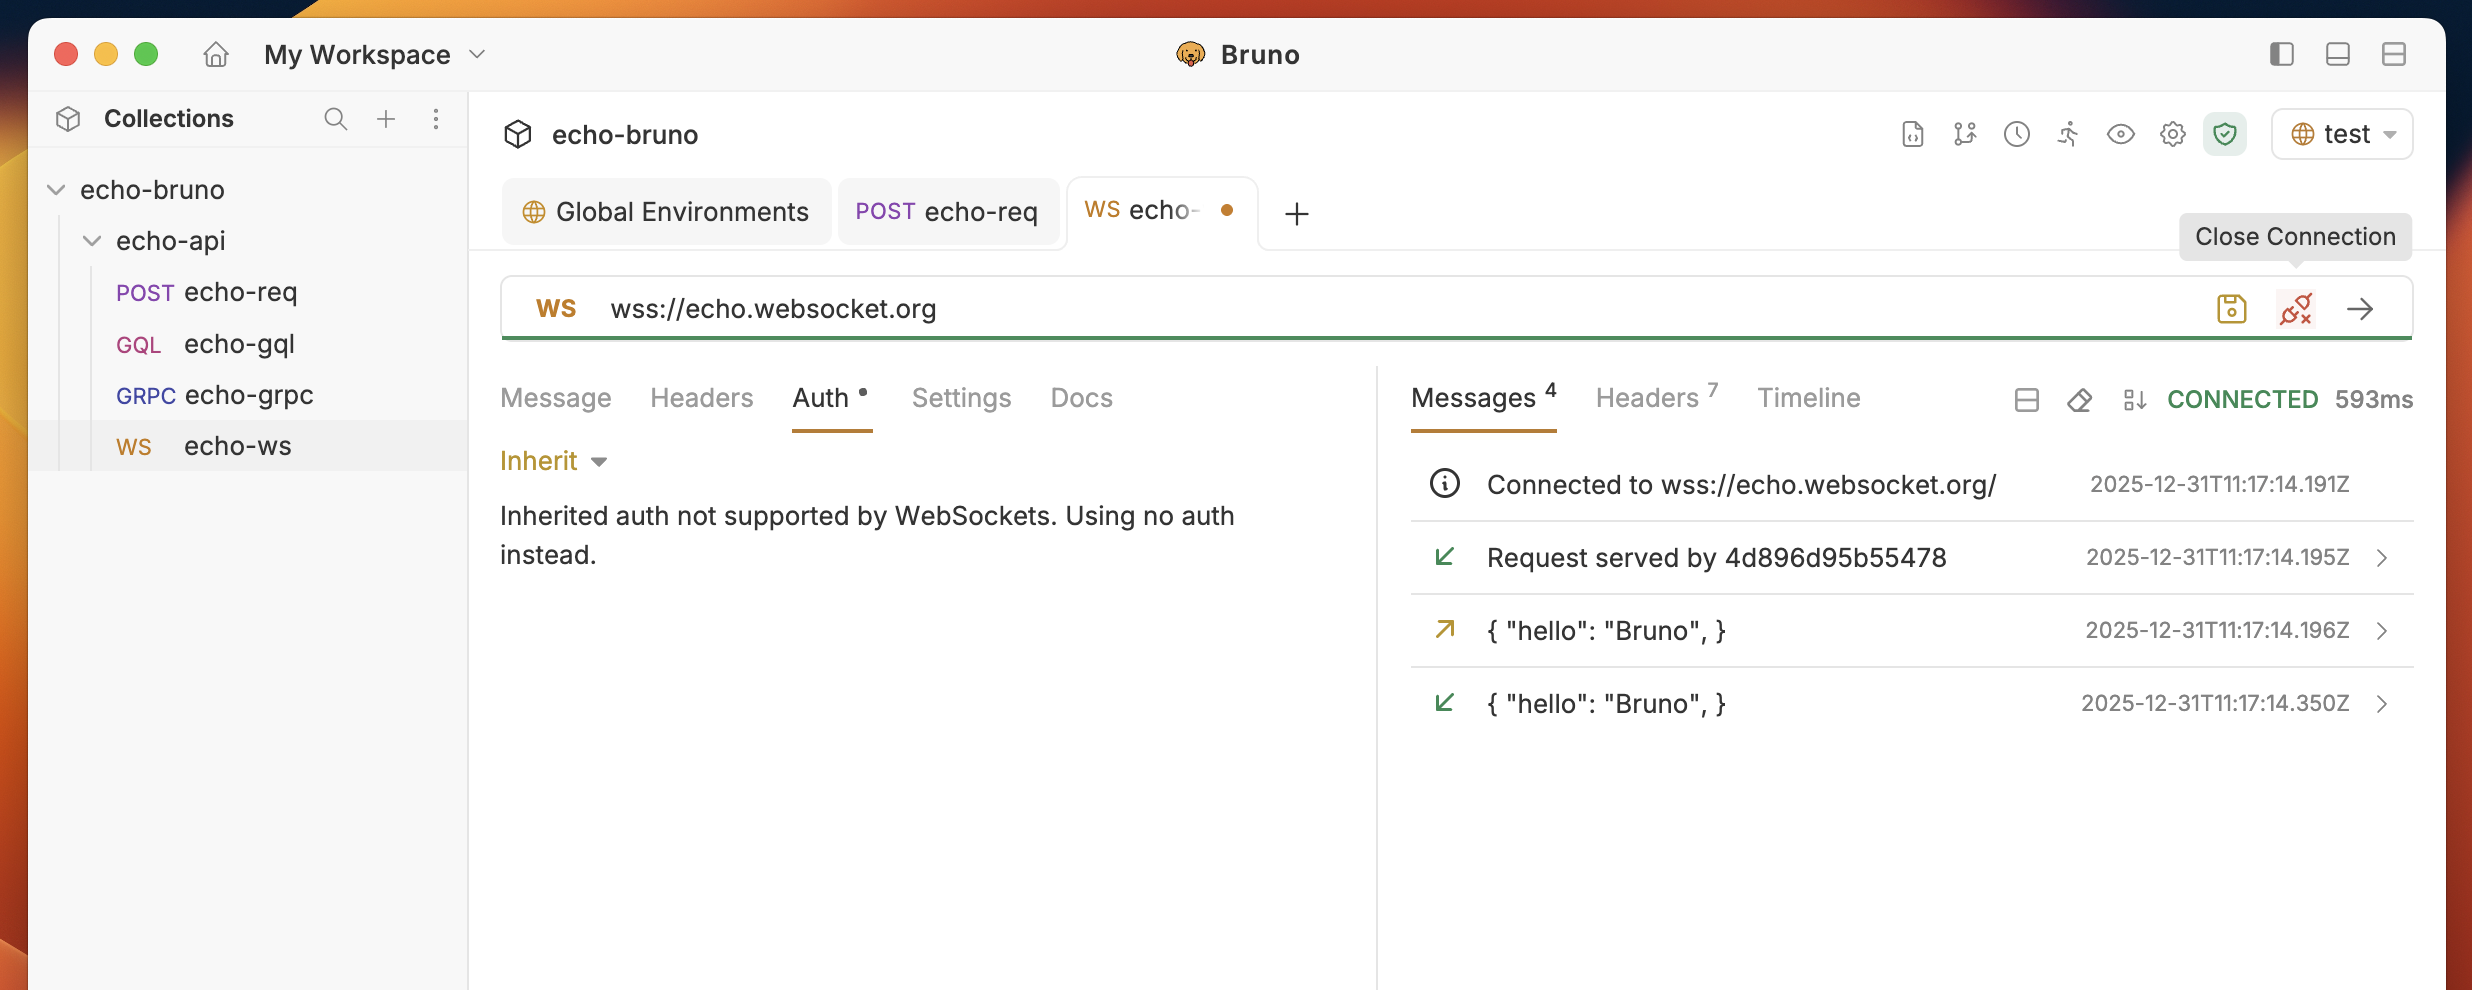
  1. Click “Disconnect” to close the WebSocket connection
  2. Connection status will update to “Disconnected”
  3. Message history is preserved for review
Disconect WS

File Format

Multiple messages are saved directly in your collection files so they are version-controllable and portable.