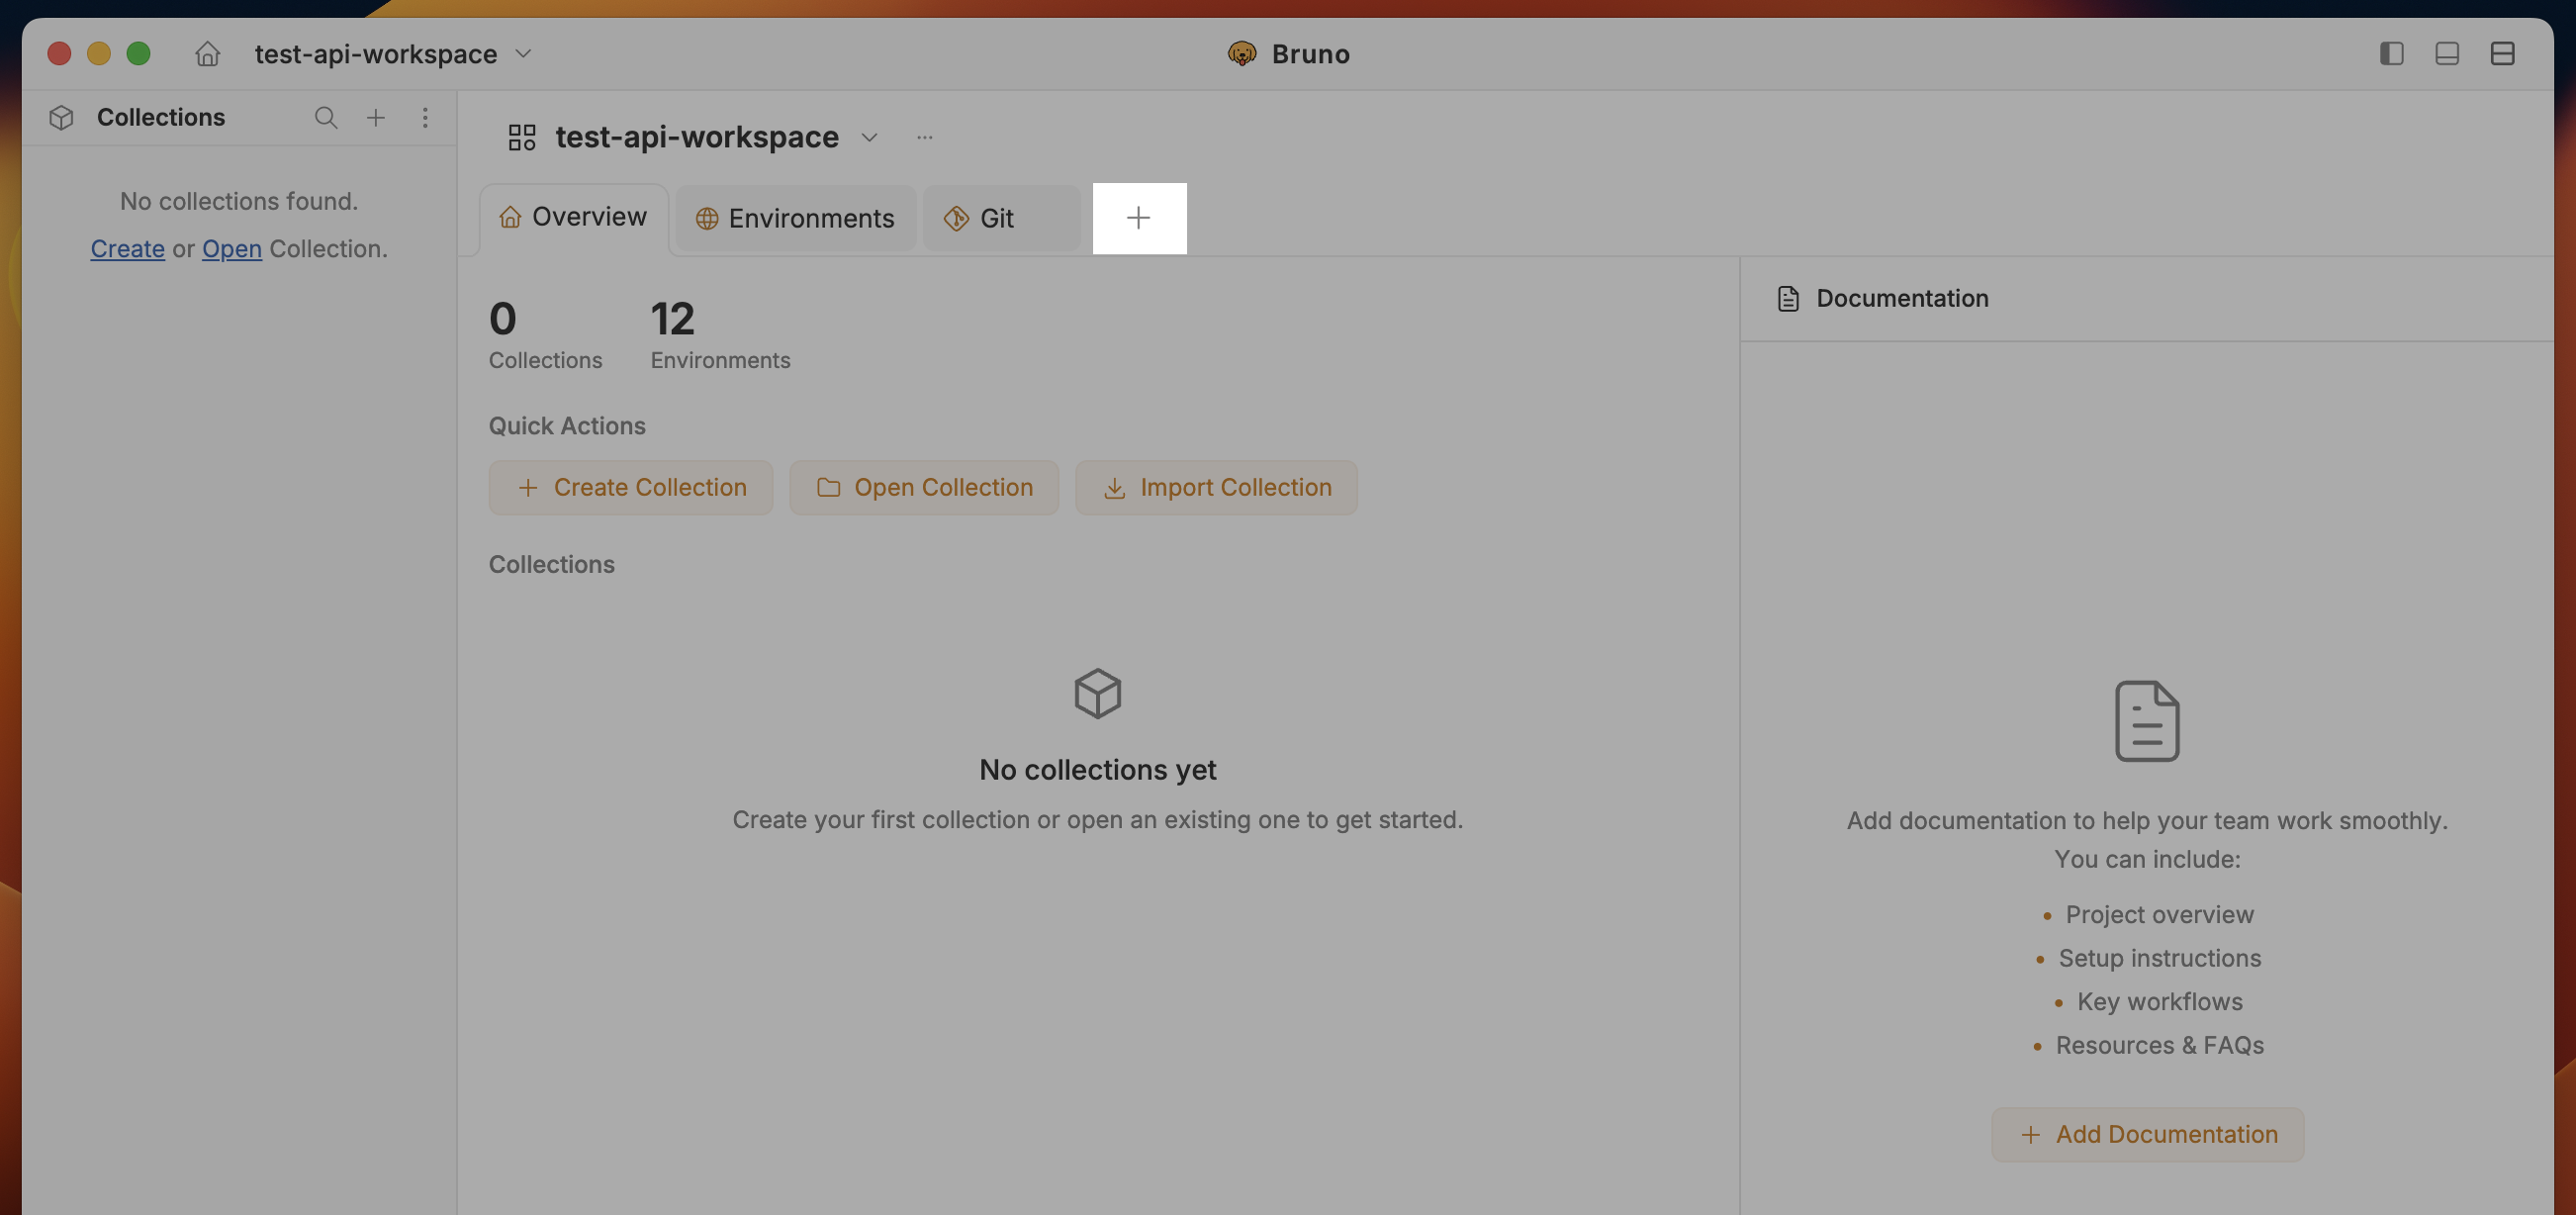
Create a first request
- Open Bruno (workspace Home).
- Click the
+button to create a request.
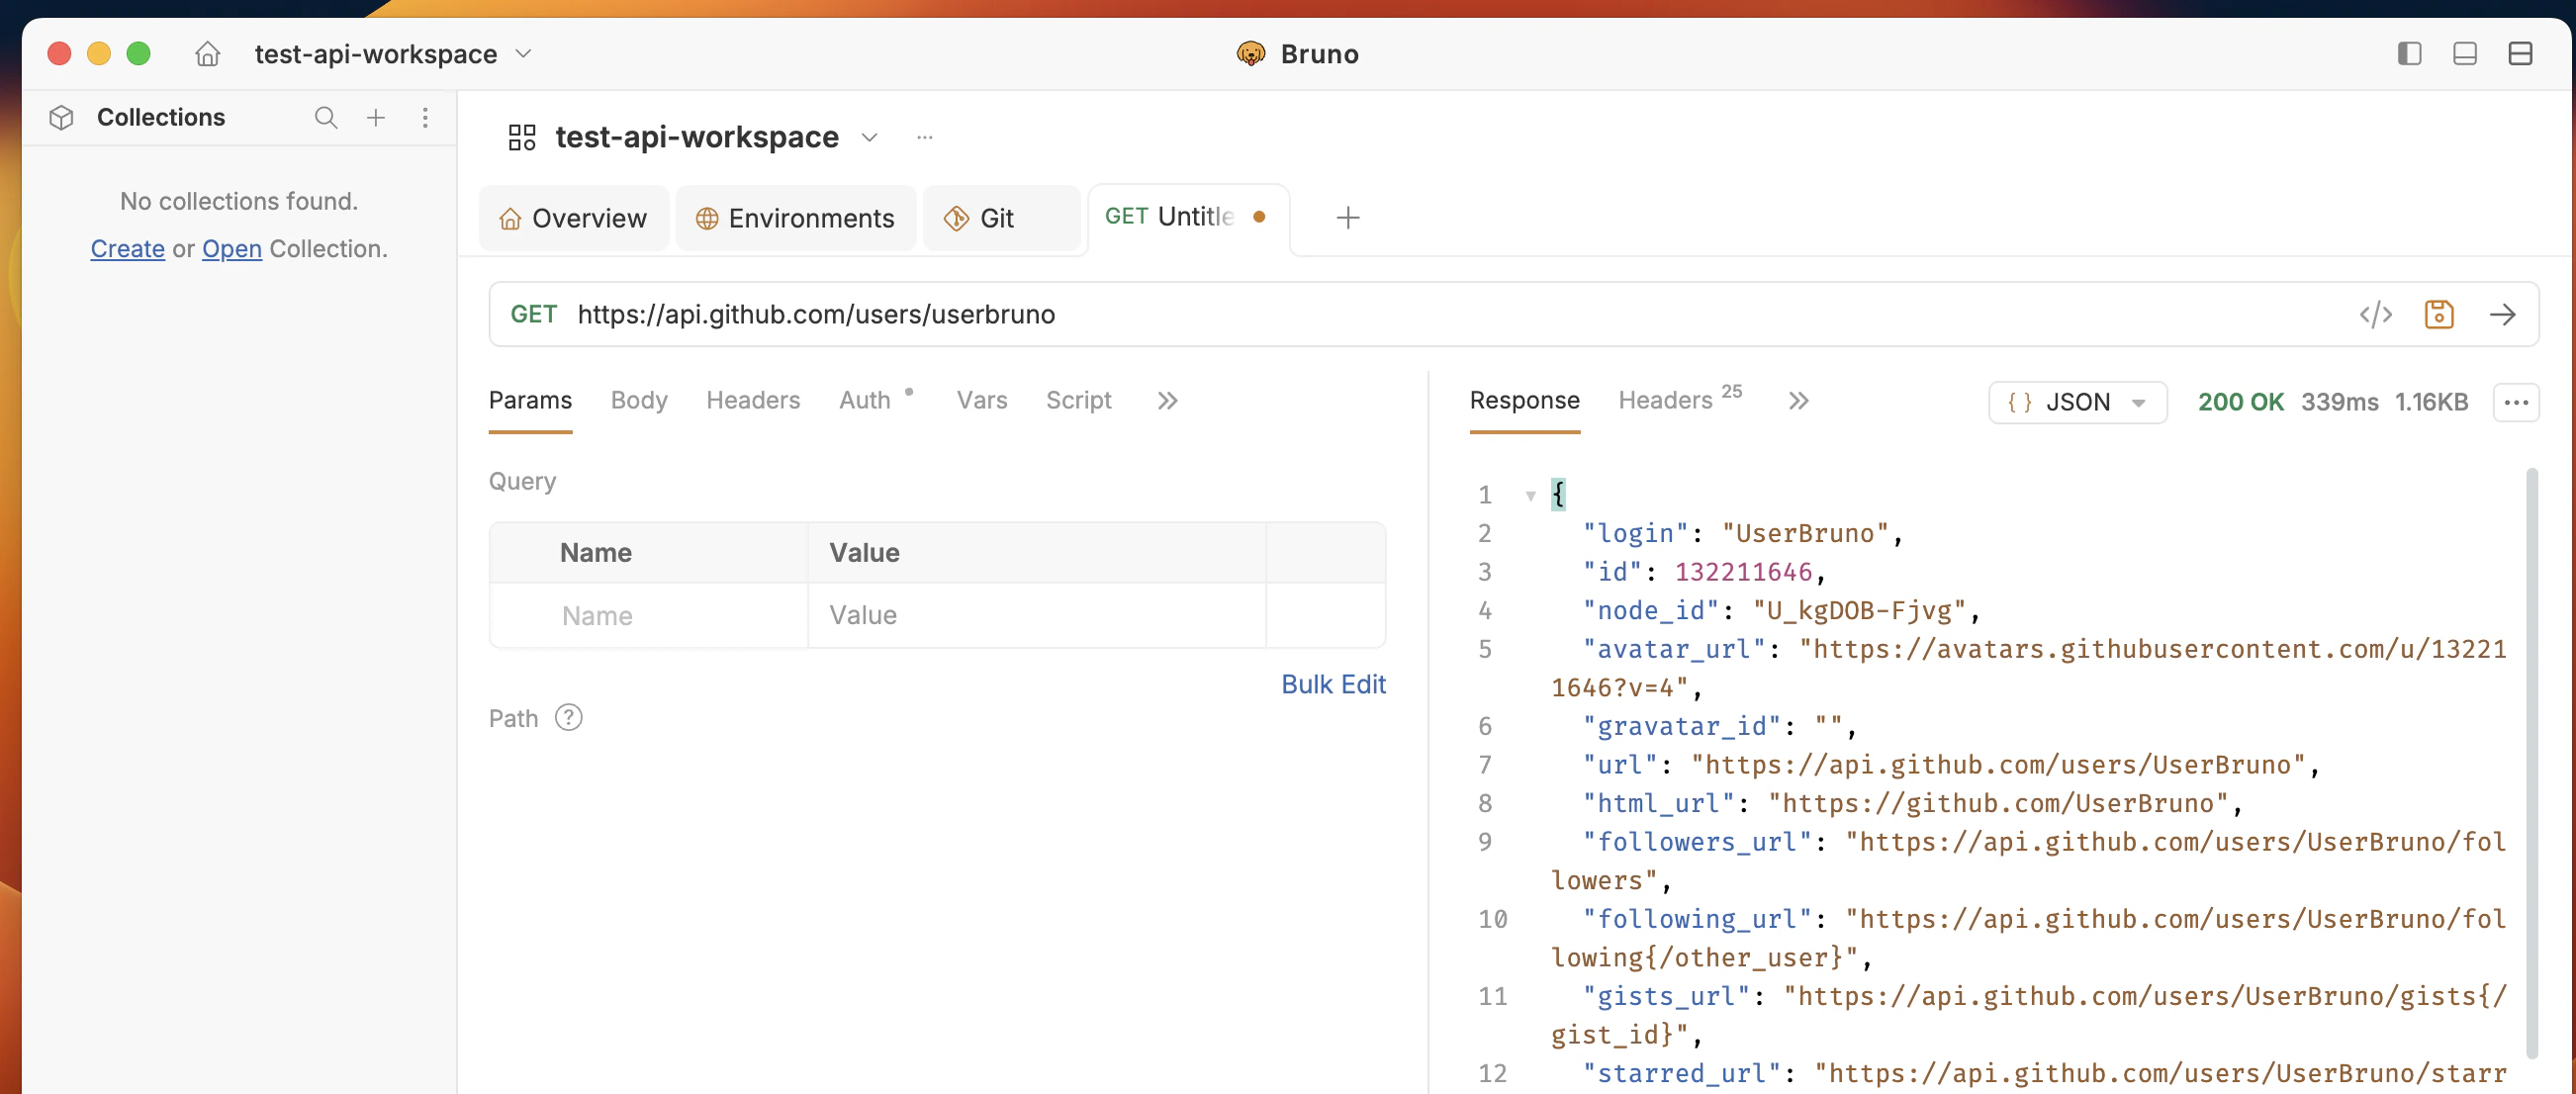
- Enter a URL (e.g.
https://api.github.com/users/userbruno) and press Enter.
- Within a collection – Create a new request from the collection menu (saved to that collection).
- Without a collection – Create an unsaved request from Workspace Home; save to a collection later (or discard).
- Inline ”+” button – Create a new request from the ”+” icon next to the request tabs (within a collection context).
1. Create a request within a collection
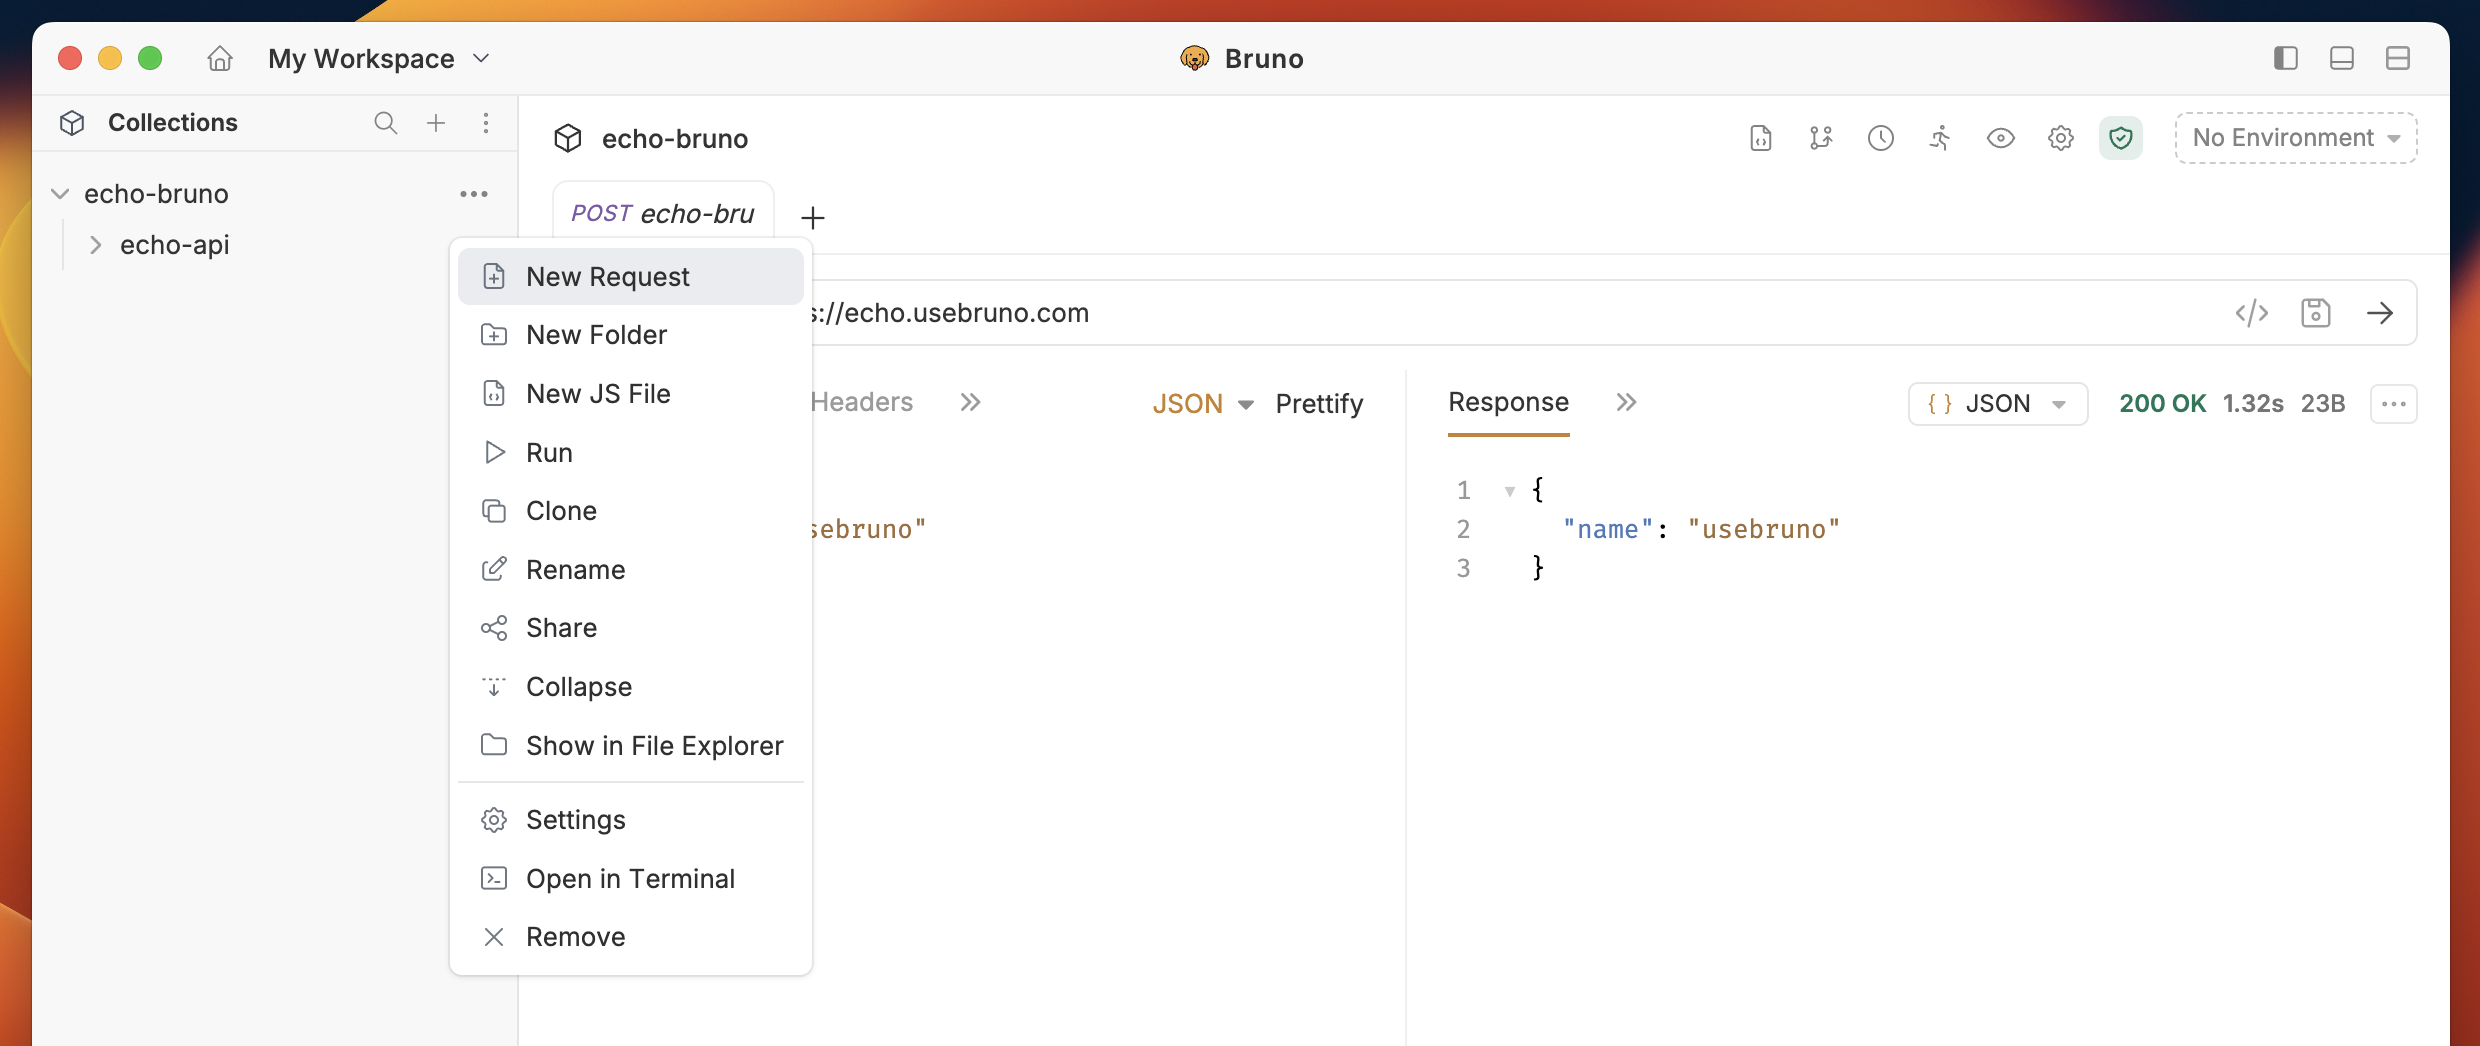
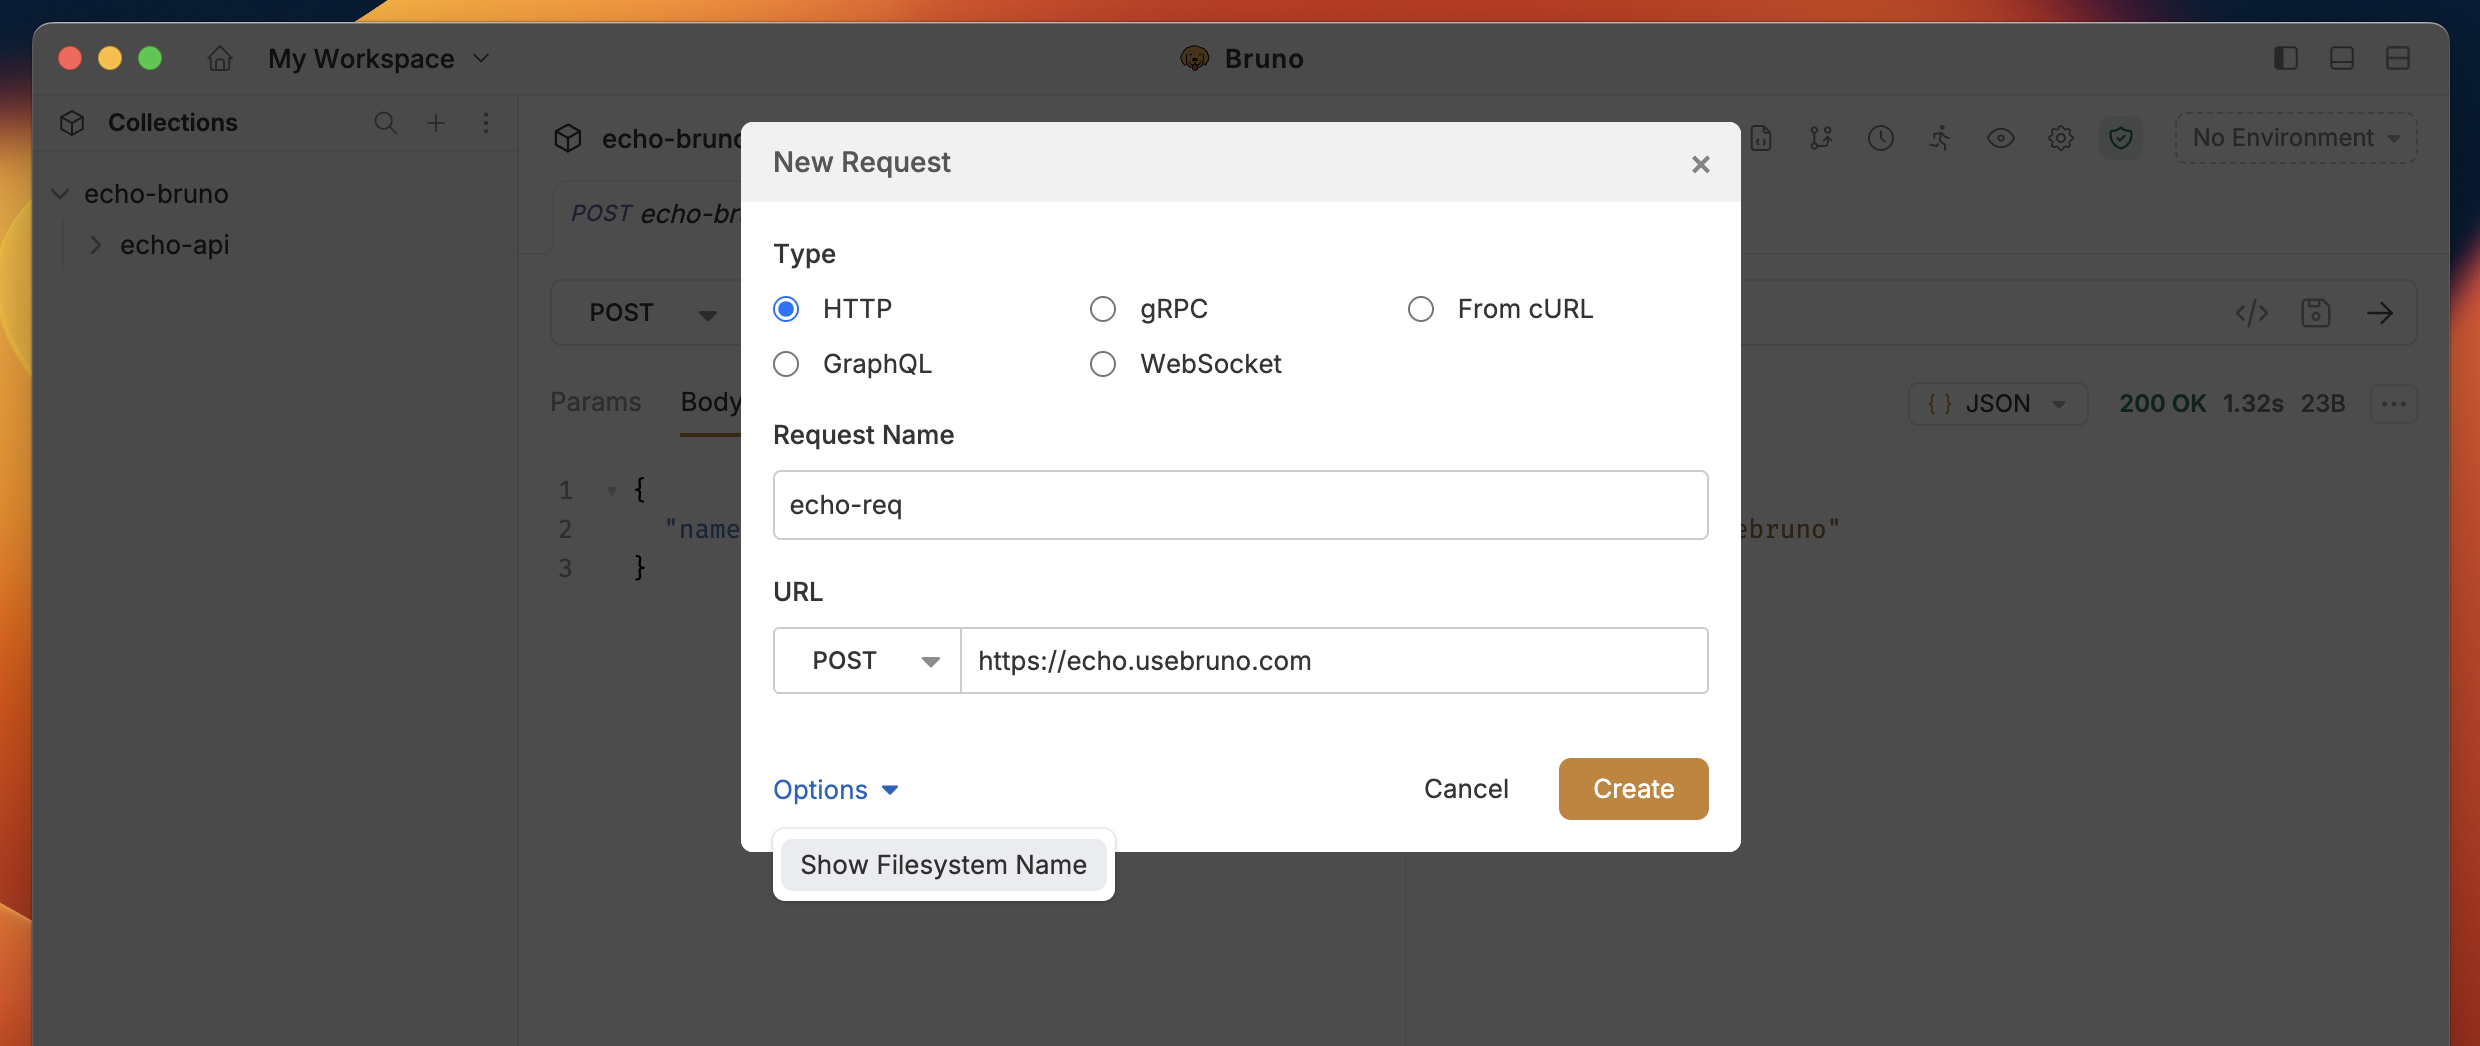
Create a new request that belongs to a collection from the start:- Open your Collection and click the
···button. - Select New Request in the dropdown menu.
- In the dialog, set:
- Request Type (HTTP, GraphQL, or from cURL)
- Request Name
- HTTP Method (GET, POST, PUT, etc.)
- URL
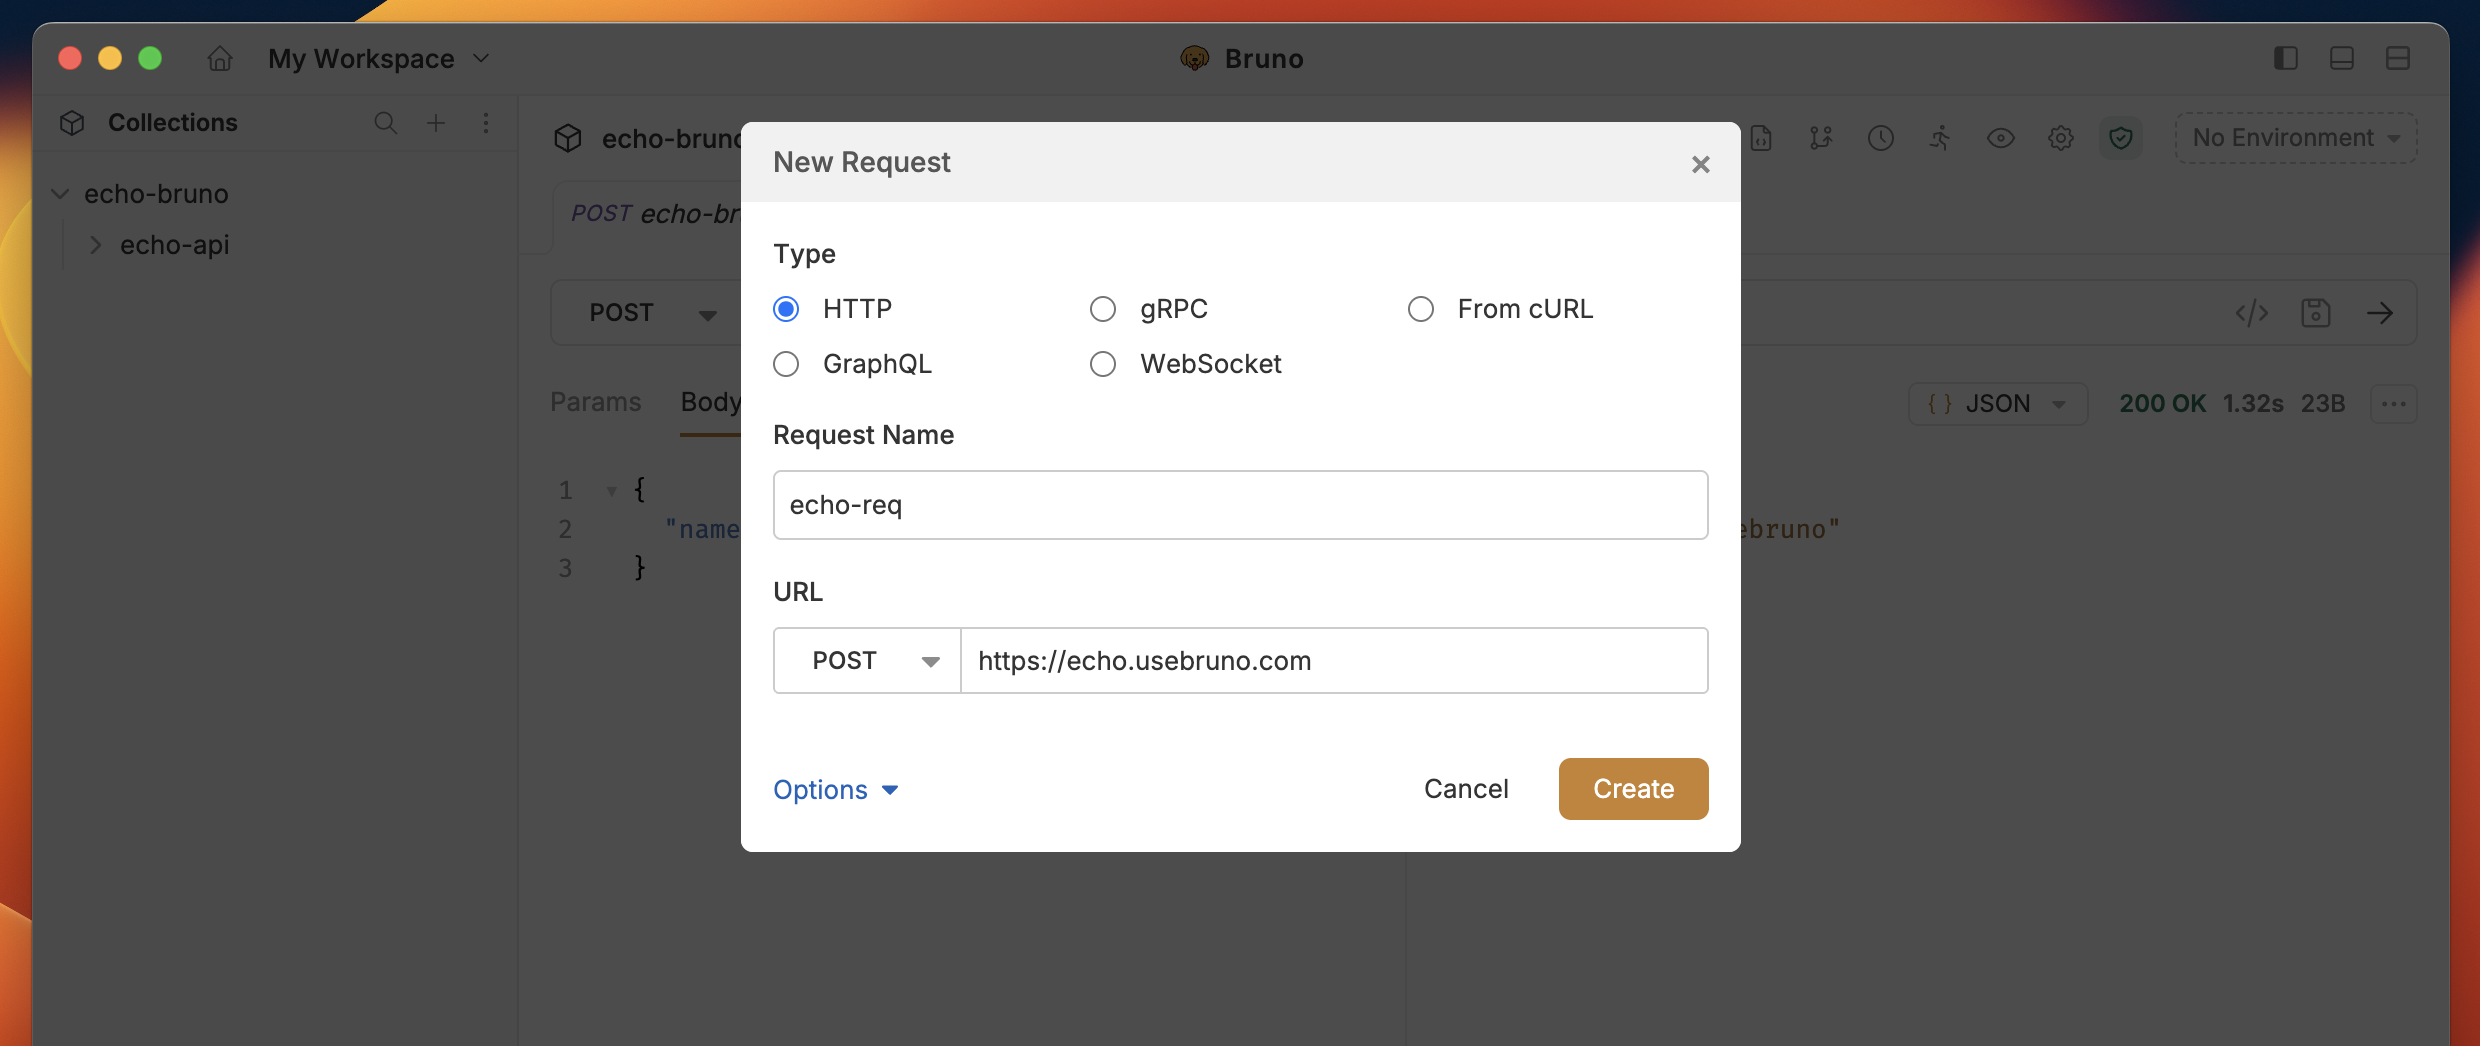
- Click Create.
2. Create a request without a collection
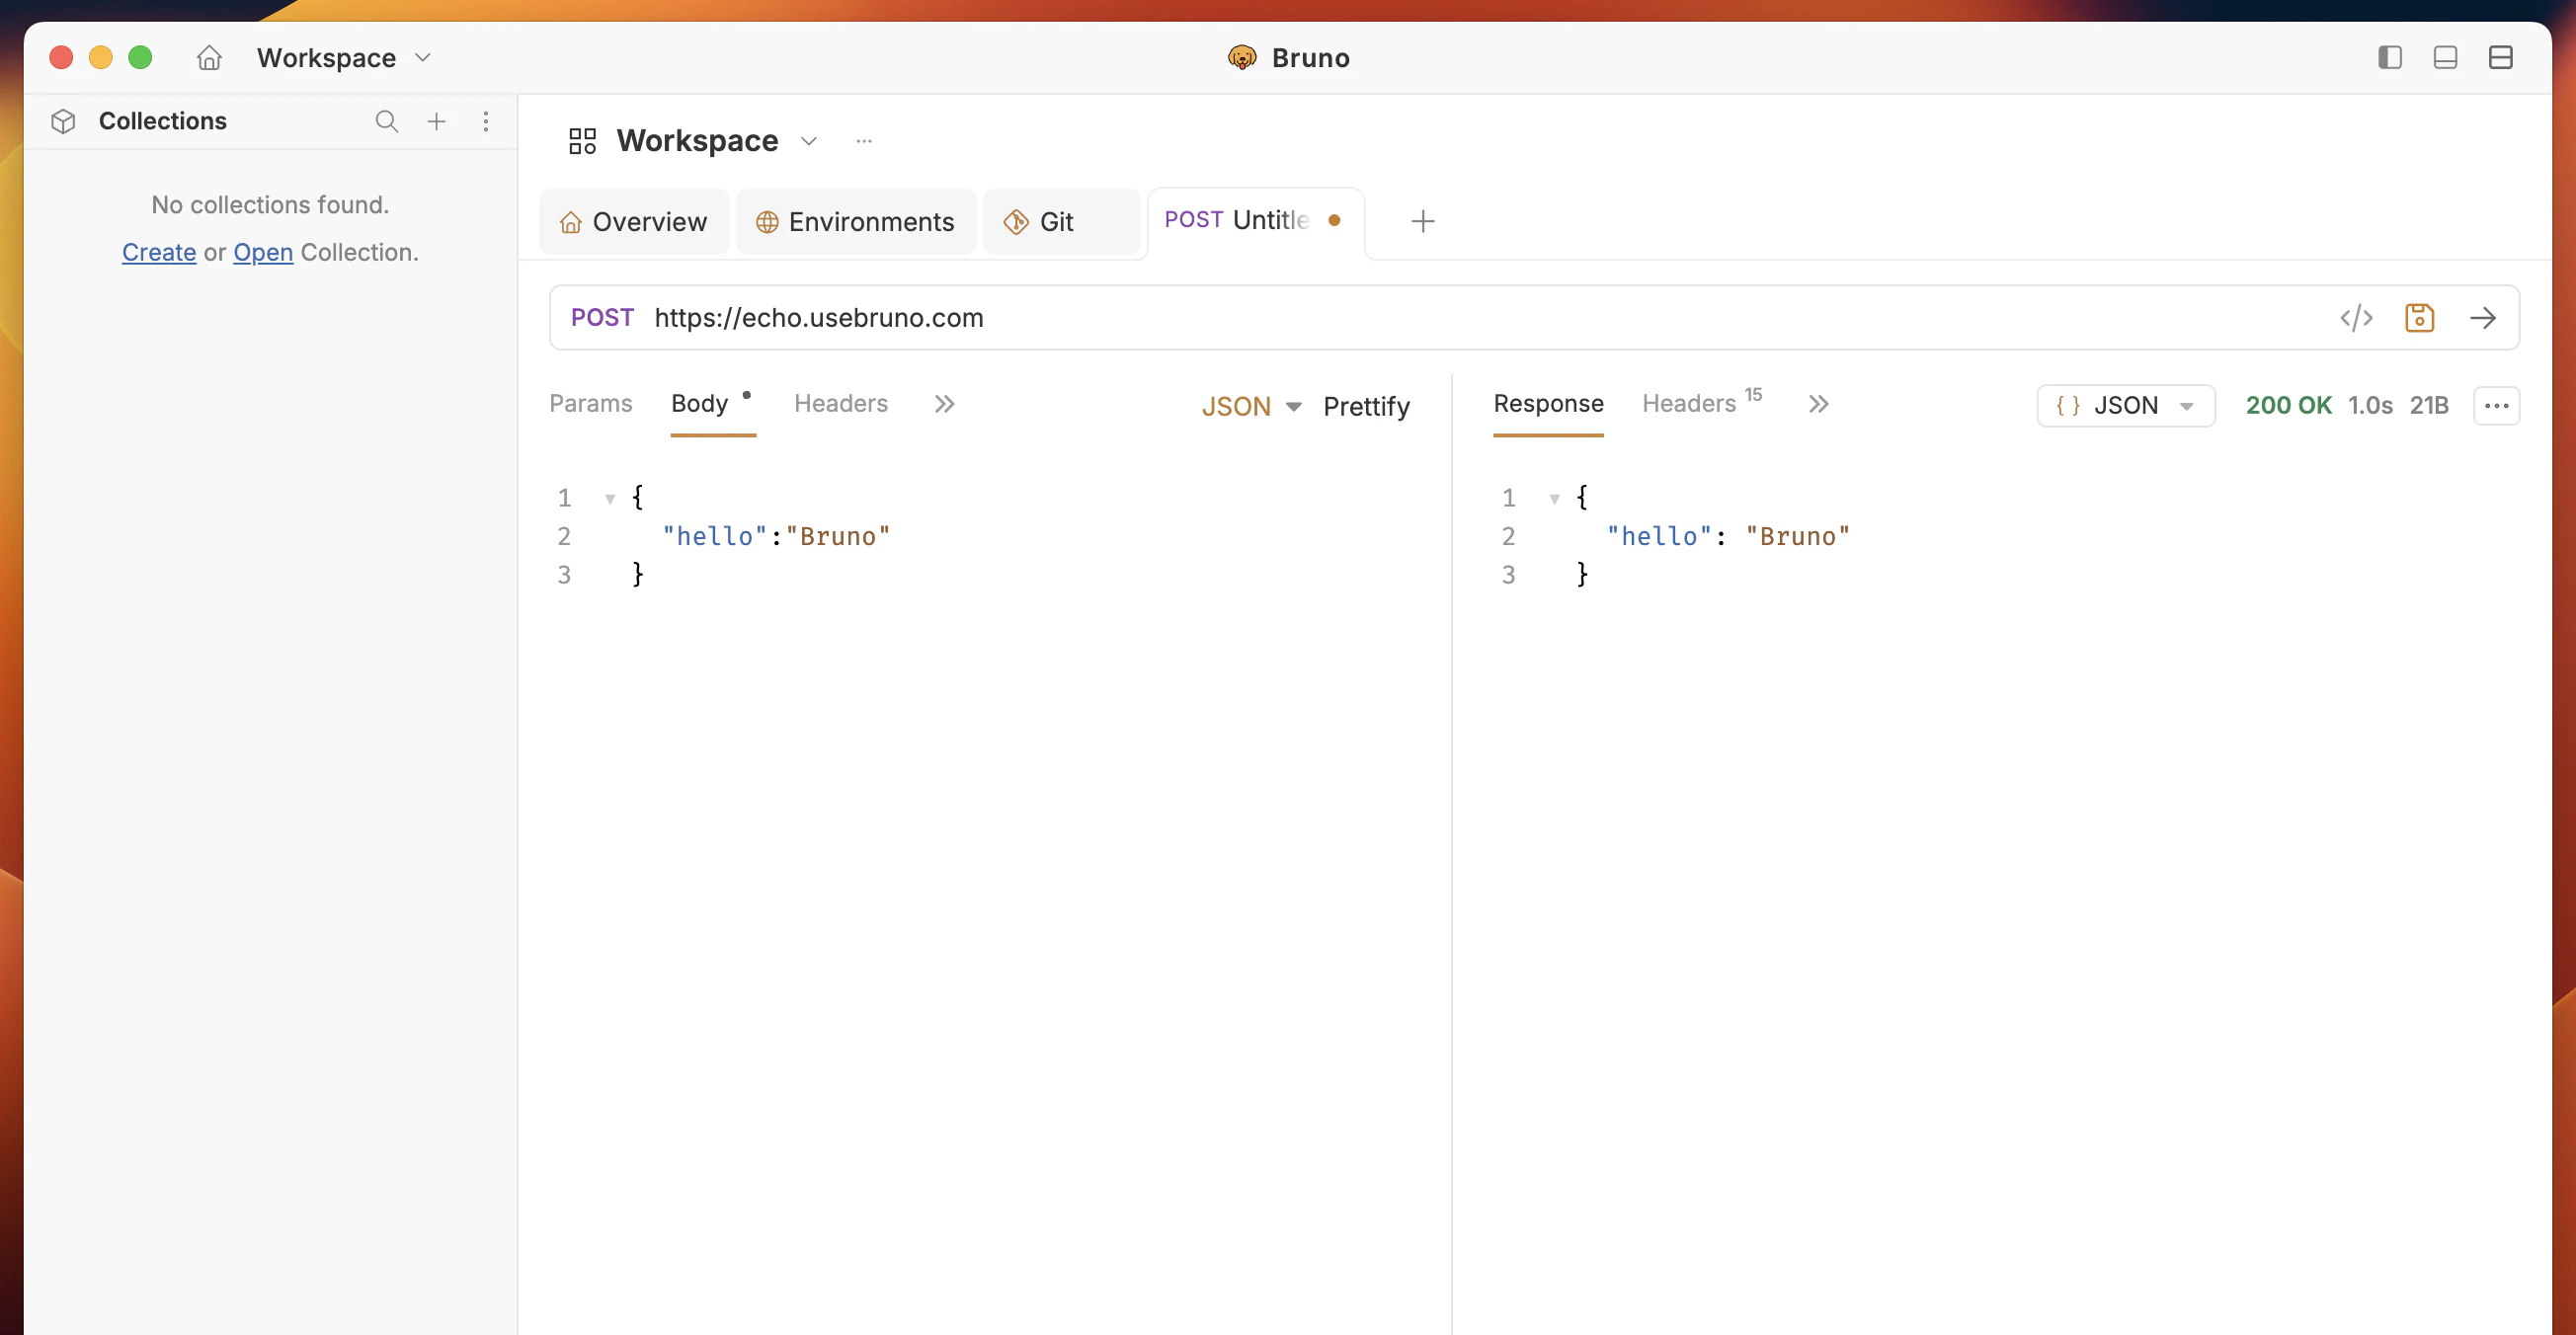
Send a request without creating or opening a collection first—useful for ad-hoc checks (e.g. verifying an endpoint) or quick cURL-style calls.
- Open Workspace Home and click the ”+” icon in the tabs area.

- A new unsaved request opens in the editor (not tied to any collection).
- Configure and run the request: URL, method, headers, auth, body, scripts, and tests are all supported.
- Save (optional): Click Save to open a modal where you can:
- Save to an existing collection from the list of open collections, or
- Create a new collection and save the request there. If no collections are open, the flow defaults to creating a new collection. After saving, you’re taken to the collection tab with the request open.
- Find unsaved requests again via the Home icon or the workspace/collection dropdown.
- Closing the workspace with unsaved requests open will prompt you that those requests will be lost unless you save them.
3. Create a request with the inline ”+” button
Quick request creation (v3.1.0+): Create requests from the ”+” icon next to the request tabs—no collection menu needed. The new request inherits the current collection’s settings.
Create an HTTP request
- Click the ”+” icon next to the request tabs to create a new HTTP request in a new tab.
Create GraphQL, gRPC, or WebSocket requests
- Right-click the ”+” icon next to the request tabs.
- Choose the request type: HTTP, GraphQL, gRPC, or WebSocket.
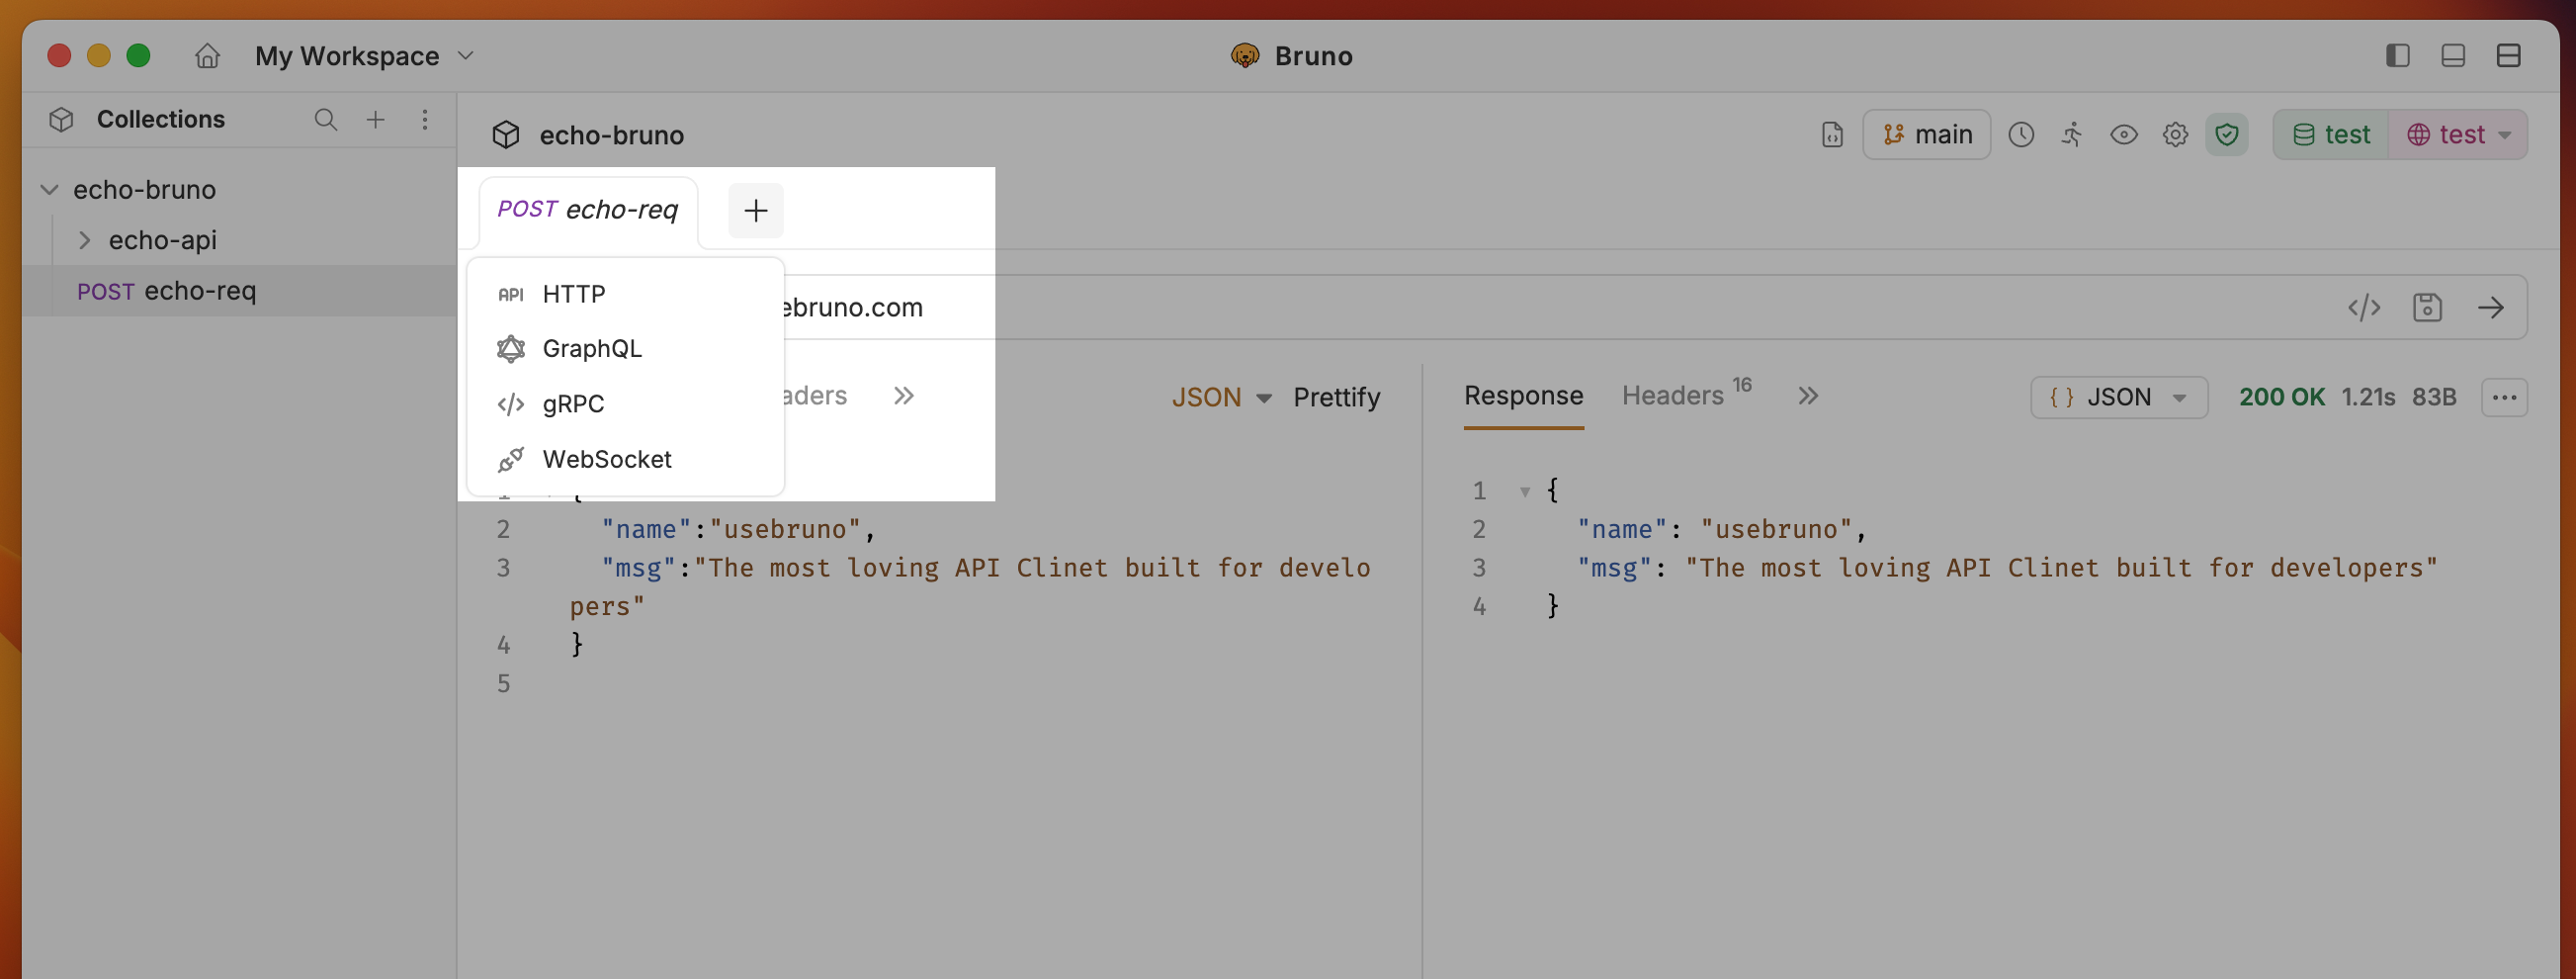
- The new request opens in a new tab.
How it works
- A new “Untitled” request opens immediately; no file is created until you save.
- The request inherits collection-level settings (auth, headers, etc.) and any presets from collection settings.
- When you Save, Bruno prompts you to choose a location (collection root or folder) and confirm the name.
Custom Request Filenames
You can use any characters in your request names, including special characters like/, [, ], *, etc. Bruno automatically handles filesystem compatibility by replacing unsupported characters with - in the filenames while preserving your original request name.
To view or customize the filesystem name
- Select Show Filesystem Name.
- You can now see how your request name is stored on the filesystem.
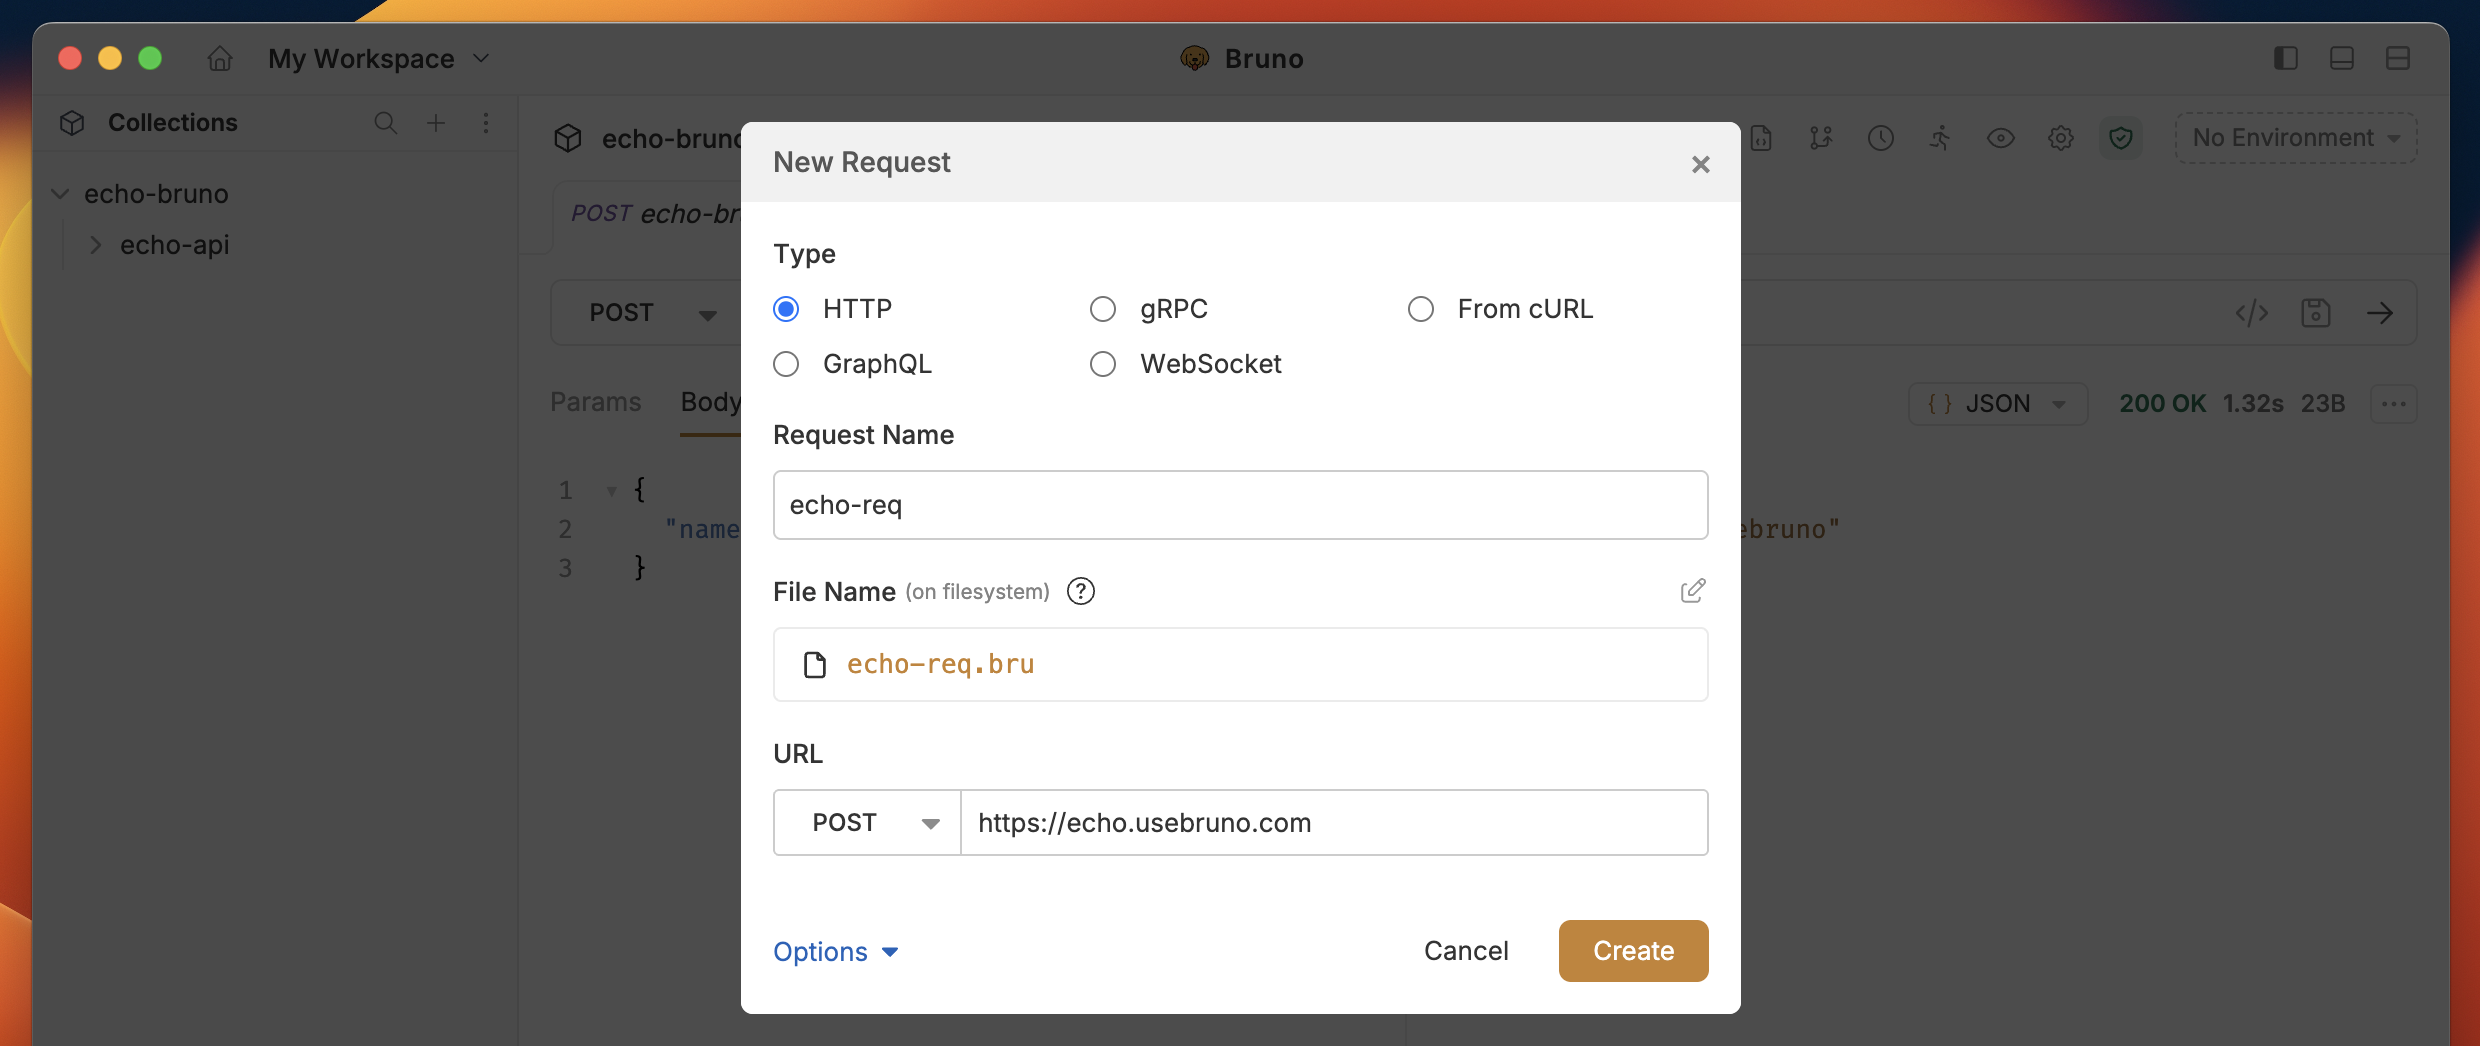
- (Optional) Click the edit icon to customize the filename while keeping your display name intact.