> ## Documentation Index
> Fetch the complete documentation index at: https://docs.usebruno.com/llms.txt
> Use this file to discover all available pages before exploring further.
# OAuth 2.0 Authentication in Bruno
export const BrunoButton = ({collectionUrl, width = 160, height = 40, className = '', style = {}}) => {
const encodedUrl = encodeURIComponent(collectionUrl);
const buttonUrl = `https://fetch.usebruno.com?url=${encodedUrl}`;
return ;
};
This OAuth 2 implementation is **specific to Bruno v2.x.x**. If using Bruno v.1.x.x, please see the [documentation for that version](/auth/oauth2/overview).
This document describes the new OAuth 2 implementation available in `v2.x.x`. This new approach simplifies authentication handling compared to the previous version.
## Overview
Bruno supports OAuth 2 authentication at collection, folder and request levels:
* **Collection Level**: Configure once and share across all requests in the collection
* **Folder Level**: Configure for a specific folder and share across all requests within that folder
* **Request Level**: Configure for individual requests, providing maximum flexibility
## Features & Improvements
1. **Simplified Configuration**: You no longer need to separately configure authorization and resource requests
2. **Automatic Token Management**: No scripting is required to set headers for the resource URL
3. **Automatic Token Injection**: Bruno automatically adds the token to request headers or parameters based on your configuration
4. **Token Data Access**: Access token data using variables: `{{$oauth2..access_token}}` within the collection
5. **Auto-fetch and Auto-refresh**: Bruno can automatically fetch new tokens when needed and refresh tokens when they expire, providing a seamless authentication experience
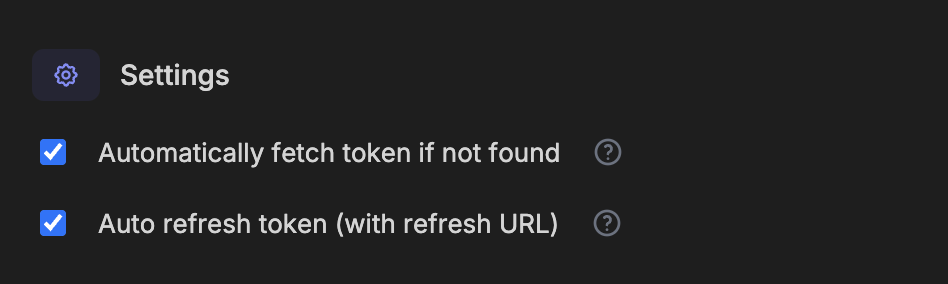
### Auto-fetch and Auto-refresh
Bruno includes two powerful token management features:
* **Auto-fetch**: Automatically fetches a new token when you try to access a protected resource and don't have a valid token
* **Auto-refresh**: Automatically refreshes your token using the refresh URL when it expires
These settings can be configured separately for each OAuth2 implementation and help streamline your API testing workflow by reducing manual token management tasks.
 ## Accessing OAuth2 Tokens in Scripts
You can access OAuth2 tokens in your scripts using the `bru.getOauth2CredentialVar()` function.
### Syntax
```javascript theme={null}
bru.getOauth2CredentialVar('$oauth2..access_token')
```
## Get Started with OAuth2
Feel free to explore our OAuth2 tutorial collection to see practical examples and test different OAuth2 grant types:
## Accessing OAuth2 Tokens in Scripts
You can access OAuth2 tokens in your scripts using the `bru.getOauth2CredentialVar()` function.
### Syntax
```javascript theme={null}
bru.getOauth2CredentialVar('$oauth2..access_token')
```
## Get Started with OAuth2
Feel free to explore our OAuth2 tutorial collection to see practical examples and test different OAuth2 grant types: